Just a few…

Here are a few projects that I have worked on over the past year.  I’ve refinished lots and lots of tables, a few chairs and more to come!

First off, I kept this one.  Simple redo with Casement Fusion Mineral Paint and just sanded the top, kept it as is.  Beautiful!

side table 1

IMG_1086

IMG_1079

Side table refreshed with Heirloom Fusion Mineral Paint and Dark walnut stain.

side table 3

IMG_1094

End table refreshed with Mountain Haze Fat Paint and ebony stain.

side table 2

IMG_1126

Coffee table refreshed with Natural Grey Behr paint.

2017-07-19 12.38.51

IMG_1243a

Coffee table refreshed with Inglenook Fusion Mineral Paint.

DSC_8650

IMG_1247a

Old school side table refreshed and painted with Paris Grey ASCP and Heirlook interior.

_20170908_175640

IMG_1266a

IMG_1272

End table painted with French Linen ASCP and white wax on top. Love this look!

IMG_1277

IMG_1335

IMG_1336

End table painted with Paris Grey.

IMG_1289

2018-03-29 15.36.59

Half moon side table painted with a grey mix with Ash & Casement Fusion Mineral Paint.

demi moon table 1

demi moon table 2

ikea grey 1

ikea grey 2

Coffee table painted with a grey custom mix, and white wax on the top.

2017-06-12 15.37.36

IMG_1063

IMG_1068a

Coffee table turned bench, painted with Casement and a striped fabric.

2015-10-17 19.41.34

IMG_1347

IMG_1350

Coffee table, refreshed with Little Lamb Fusion Mineral Paint.

IMG_1280

IMG_1413

IMG_1411

Sad to FAB, table refresh.

One of my followers from my Facebook page contacted me to see if I wanted to buy a table. For $20. Ummm, yes please!! It was a fun and unique piece. It had chippy yellow paint and messy stained top. But such a fun shape. So much potential.

I loved the shape of it. Those legs! I couldn’t wait to transform it. But, the table sat in my workshop for awhile. I didn’t know what colour to go with. After a couple of months, I finally decided to use special walnut stain on the top and Inglenook Fusion Mineral Paint for the base.

I love how it turned out. It took awhile to sell but it found a happy home. Thankfully… ’cause it was going to be mine!

Side note, I ordered a light kit to help me with my furniture pictures. Since my workshop and staging area are in an unfinished basement, good lighting is lacking. Here’s a couple pics to show how the light kit improves photos. The first photo, taken without the light kit, the wood top doesn’t shine. Everything is yellowed. With the light kit, the wood looks so much better, the colour is on par and the photo is much better.

I got mine from Amazon and it was worth the $45!

Back soon with some quick before and afters!

Laurena 😉

Side tables, refreshed

I was MIA on the blog for a few months, so I figured I will do a couple more posts.

A friend of mine who I’ve known since junior high school, contacted me to redo a couple of side tables. Of course I said yes, it’s a good excuse to catch up. We hadn’t seen each other in almost 10 years (when we were in junior high… Lol, I wish!). She gave me free rein when choosing colours and what to do with the tables.

Here are the two tables, before and after! I used my favourite colours, little lamb and Inglenook Fusion Mineral Paint. Love the grey and the colour combo.

Can’t wait for her to see them in person next week!

Laurena 😉

French Linen Hutch

A friend asked me if I wanted to buy a hutch from her.  She sent a picture and I couldn’t pass it up!   It was a beautiful piece but it needed some TLC.   The surface was scratched and the drawers needed repair.

wp-image-2117497047jpg.jpg

wp-image-1557226227jpg.jpg

I sanded the top down, applied a coat of wood conditioner and one coat of Minwax Provincial stain. The wood top drank up the stain and turned out a bit reddish than expected.  The plus side,  the stain showed off a beautiful wood grain.

2017-03-08 13.31.19

2017-03-08 13.53.47

I’ve had a General Finishes top coat on my wish list at Lee Valley for awhile and finally ordered some.  I tried it out on this hutch and I love it!  General Finishes high performance top coat is a little different from other polyurethanes.  You just brush it on, careful to not overbrush, and wait 48 hrs between coats.   I lightly sanded before applying the second and third coats. No fuss and easily applied.  The top coat turned out beautiful!   It gave a nice finish and will be pretty durable for whatever the hutch is used for.   I’ll definitely use the product again.

I tried to pick paint colours that would appeal to everyone,  so I tried out Fusion Mineral Paint in Coal black, General Finishes Milk Paint in Coastal Blue, and Annie Sloan Chalk Paint in French Linen.  I painted swatches on the back plate so I could visualize it better with the wood. Once it was dry, I compared the 3 colours to the wood colour.  I was aiming for a colour that complimented the reddish hue in the wood,  and not compete with it.

I found the black and blue were both too dark and on the colder side.   So, I chose French linen,  It’s a nice warm grey and complimented the wood.  After 3 coats, I lightly sanded and distressed then waxed. The inside of the drawers were painted Duck Egg Blue to make them look clean and new. Some new knobs mixed in with the old,  made the hutch look refreshed!

hutch 1hutch 4hutch 7hutch 10IMG_1046

I love the wood top!!  Another project done!

Thanks for stopping by!

Laurena

Chair refresh. 

A month ago I was asked if I could reupholster some chairs for a new client. The dining set was her grandmother’s and 100 years old.  She had the chairs reupholstered years ago but it was time for a refresh.

The chairs were going to look awesome with new fabric.  I was looking forward to redoing the chairs.   I picked up the chair seats and had planned on working on them a couple days later.  It was going to be a storm day,  which is a perfect day for reupholstering!  Unfortunately, I started getting sick with a chest infection and was useless for a couple weeks.

So fast forward two weeks and another storm day. (We’ve had a few!!)  I was able to tear off the old fabric and start on reupholstering.  The biggest part of the job was to remove the two layers of fabric and lots of staples and nails.


Underneath the fabric, the old padding was in good shape.  The padding was still cushy and wasn’t damaged by liquids.   I covered the seats with two layers of batting.


My client found some beautiful teal fabric for a great price.   When I finished the seats I couldn’t wait to reunite them with the frames.  I loved the result and my client and her family did too!

Love this before and after!

It was a simple redo and I got to meet a nice family!  I’m so happy to have been able to refresh her grandmother’s dining set.  A treasure for sure!

Laurena

Blue Slate side table

I found this side table at the Habitat for Humanity ReStore. I couldn’t pass it up.  Great price and loved the shape.

I wanted to use a new paint colour I just bought.   Fat Paint in Blue Slate.   A nice blue grey.

I sanded the top down and stained it with a dark stain.   There must have been a wax or oil applied on the wood, the stain didn’t absorb too much.  But luckily it was a happy accident.  It looked rustic and less orange.  I loved the result.

The stained top with blue slate looked awesome.   Here’s the finished piece!

It didn’t take long to find a home for this one.  One of my lovely cousins grabbed it up.  I love keeping my furniture pieces in the family!

Laurena

Bye bye bunny

In the fall, I worked on 3 pieces for a client.  Two side tables and a pine chest.

One end table would be painted Paris Grey, the other Paloma, both ASCP.  Originally she wanted the table tops to be refinished and stained but the wood  was not great for refinishing.  The tables had great character and would look beautiful painted and updated.  I just simply painted the tables and sealed with Varathane with a satin finish.  And replaced the knobs.

The pine chest looked like it would be an easy redo….but those darn bunnies threw me off!  I sanded down the top and got rid of the tole painted bunny.  There was a clear outline left underneath.  I was skeptical and nervous that stain wouldn’t cover it up.

I used wood conditioner and let it soak for a over 15 minutes.  Then applied two coats of Provincial stain, allowing the first coat to soak in for 15 minutes at least.  My client didn’t want the top to be stained too dark, so the second coat i only left on for less than 10 minutes.  Luckily, after just one coat of stain, the bunny was barely there!  Now after staining and varathane, it’s totally transformed.  The base of the chest was painted in French Linen ASCP.  Love that colour.  Especially with a stained wood top.  Beautiful!

I love all of the finished pieces.   What a difference a little paint makes. Hoping to post more projects I’ve worked on so far this winter.   So stayed tuned in the next couple of days! 
Laurena 

Boxwood antique desk

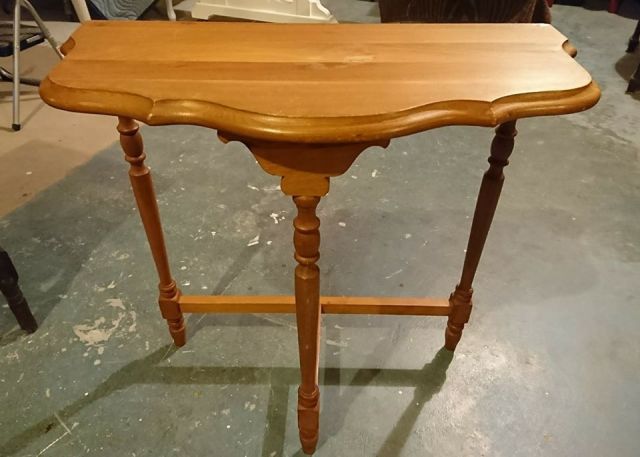
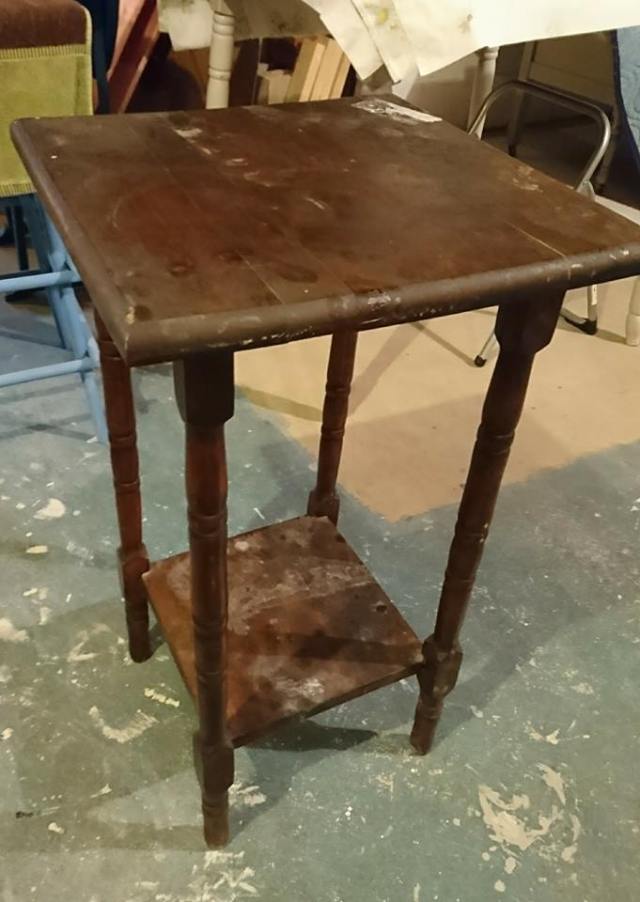
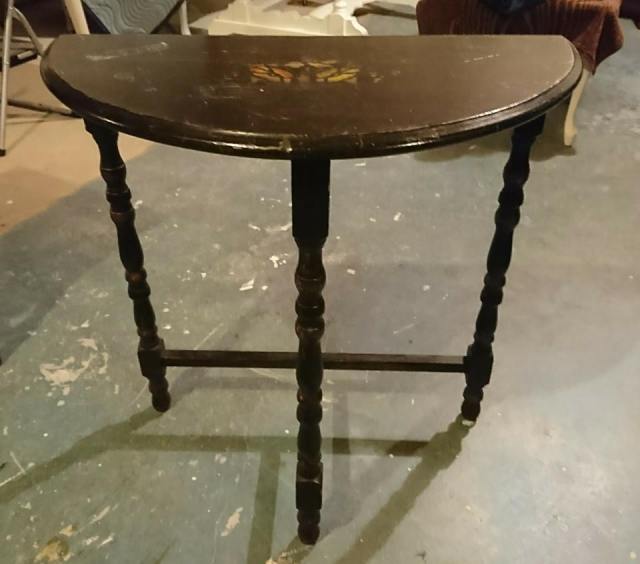
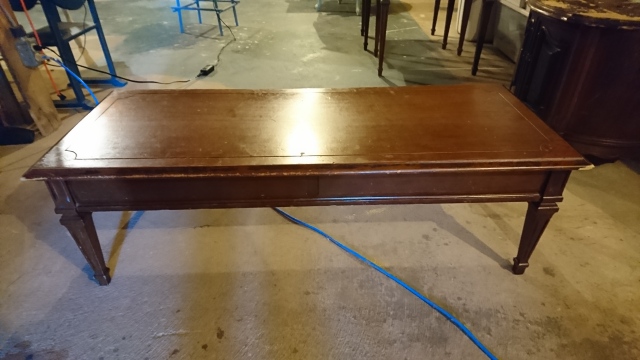
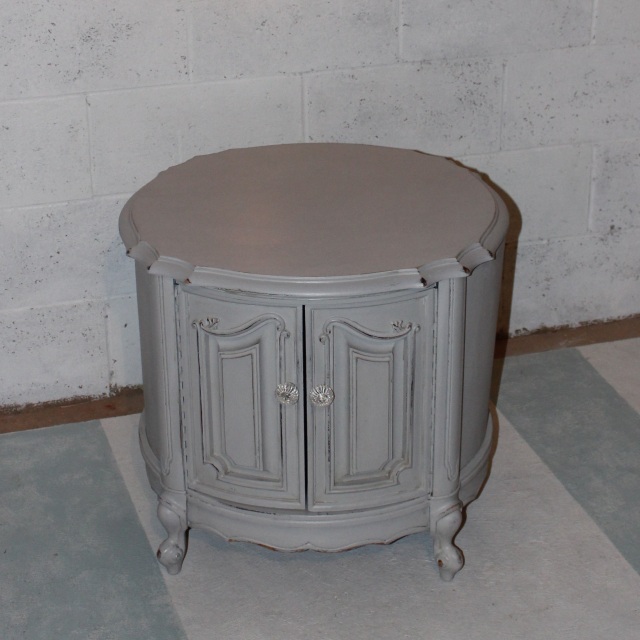
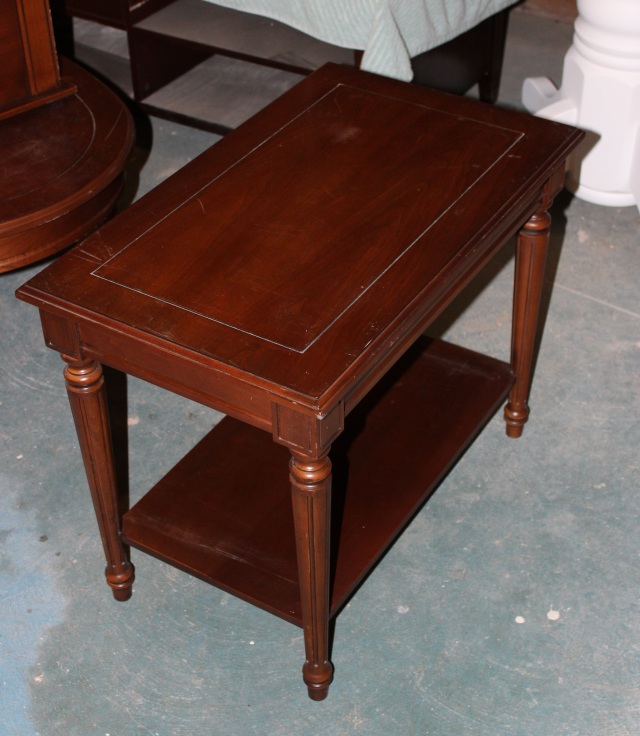
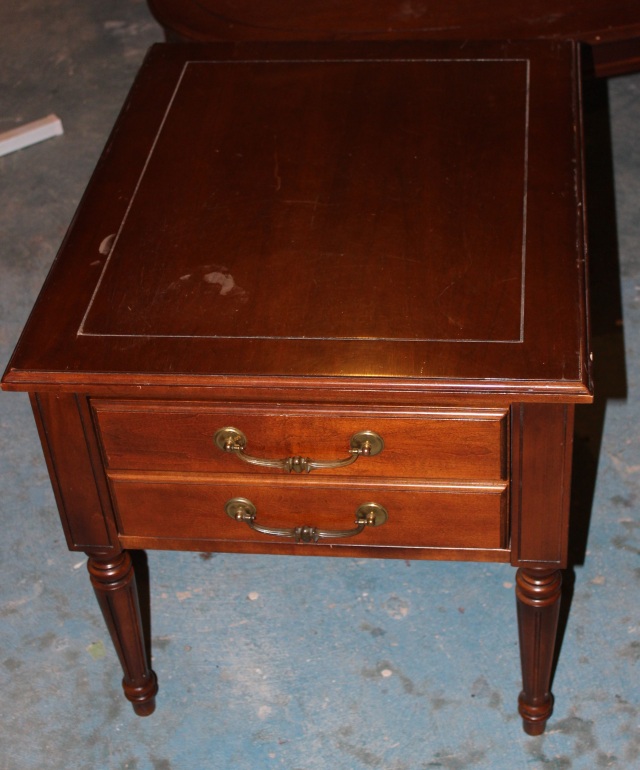
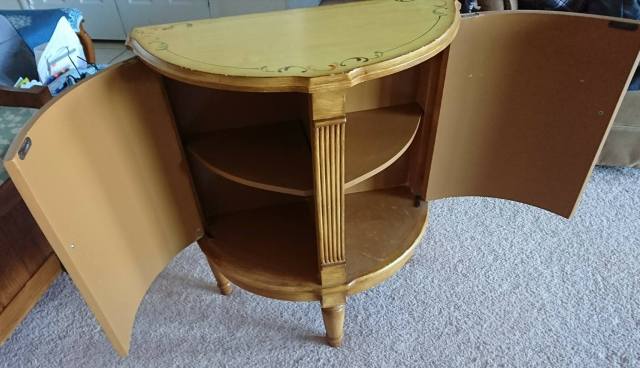
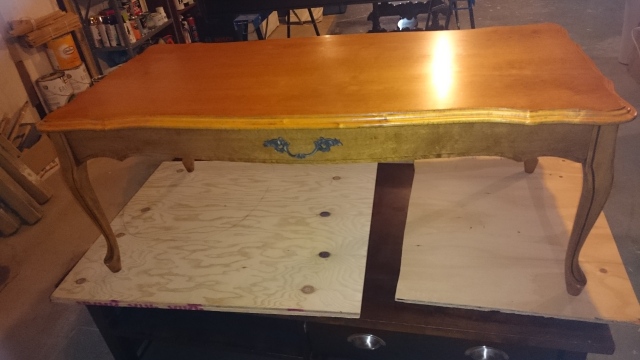
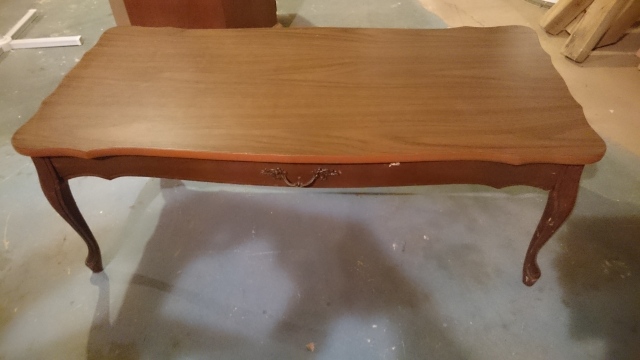
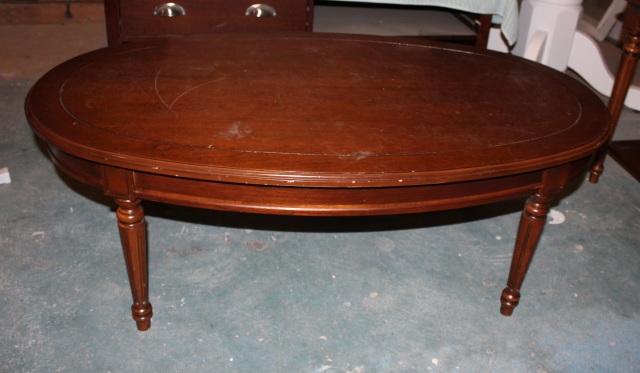
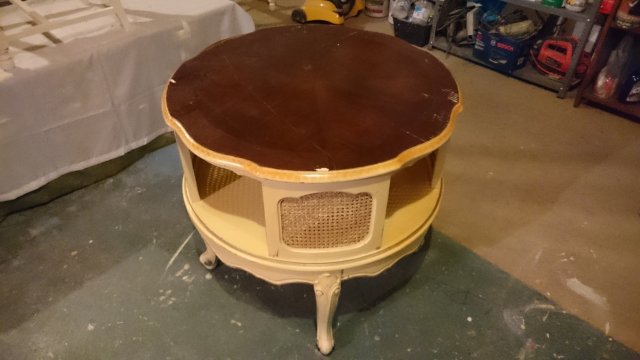
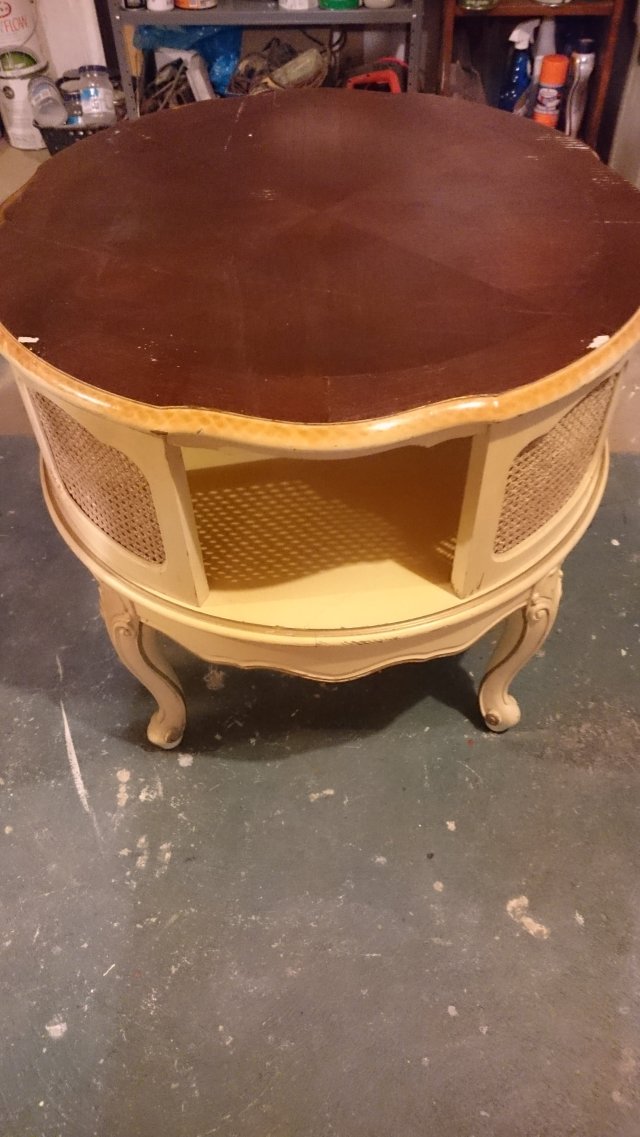
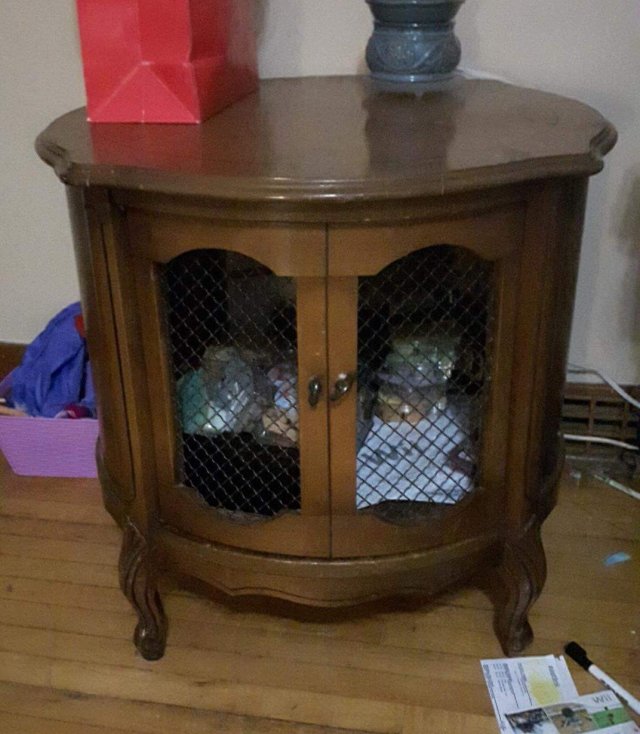
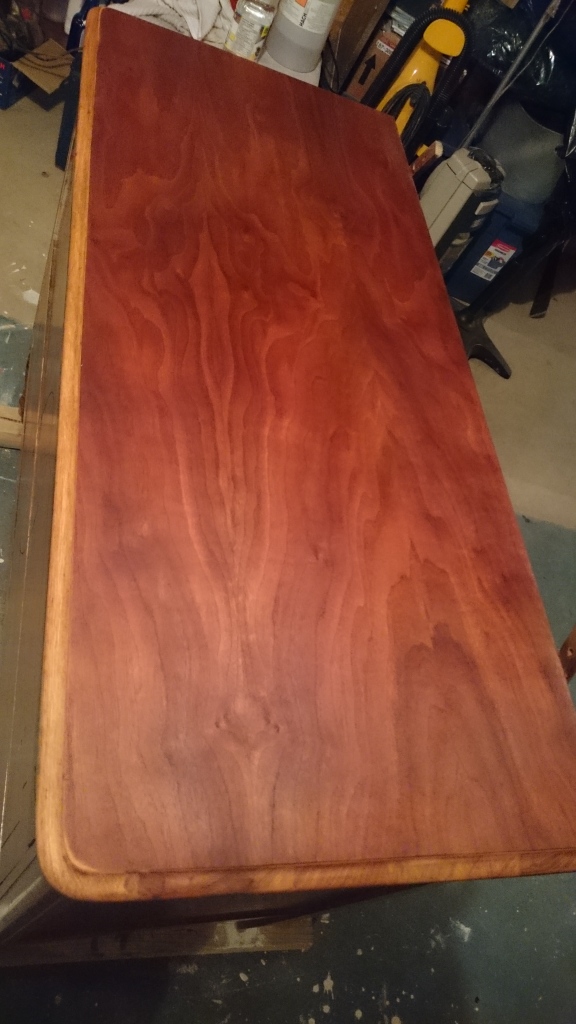
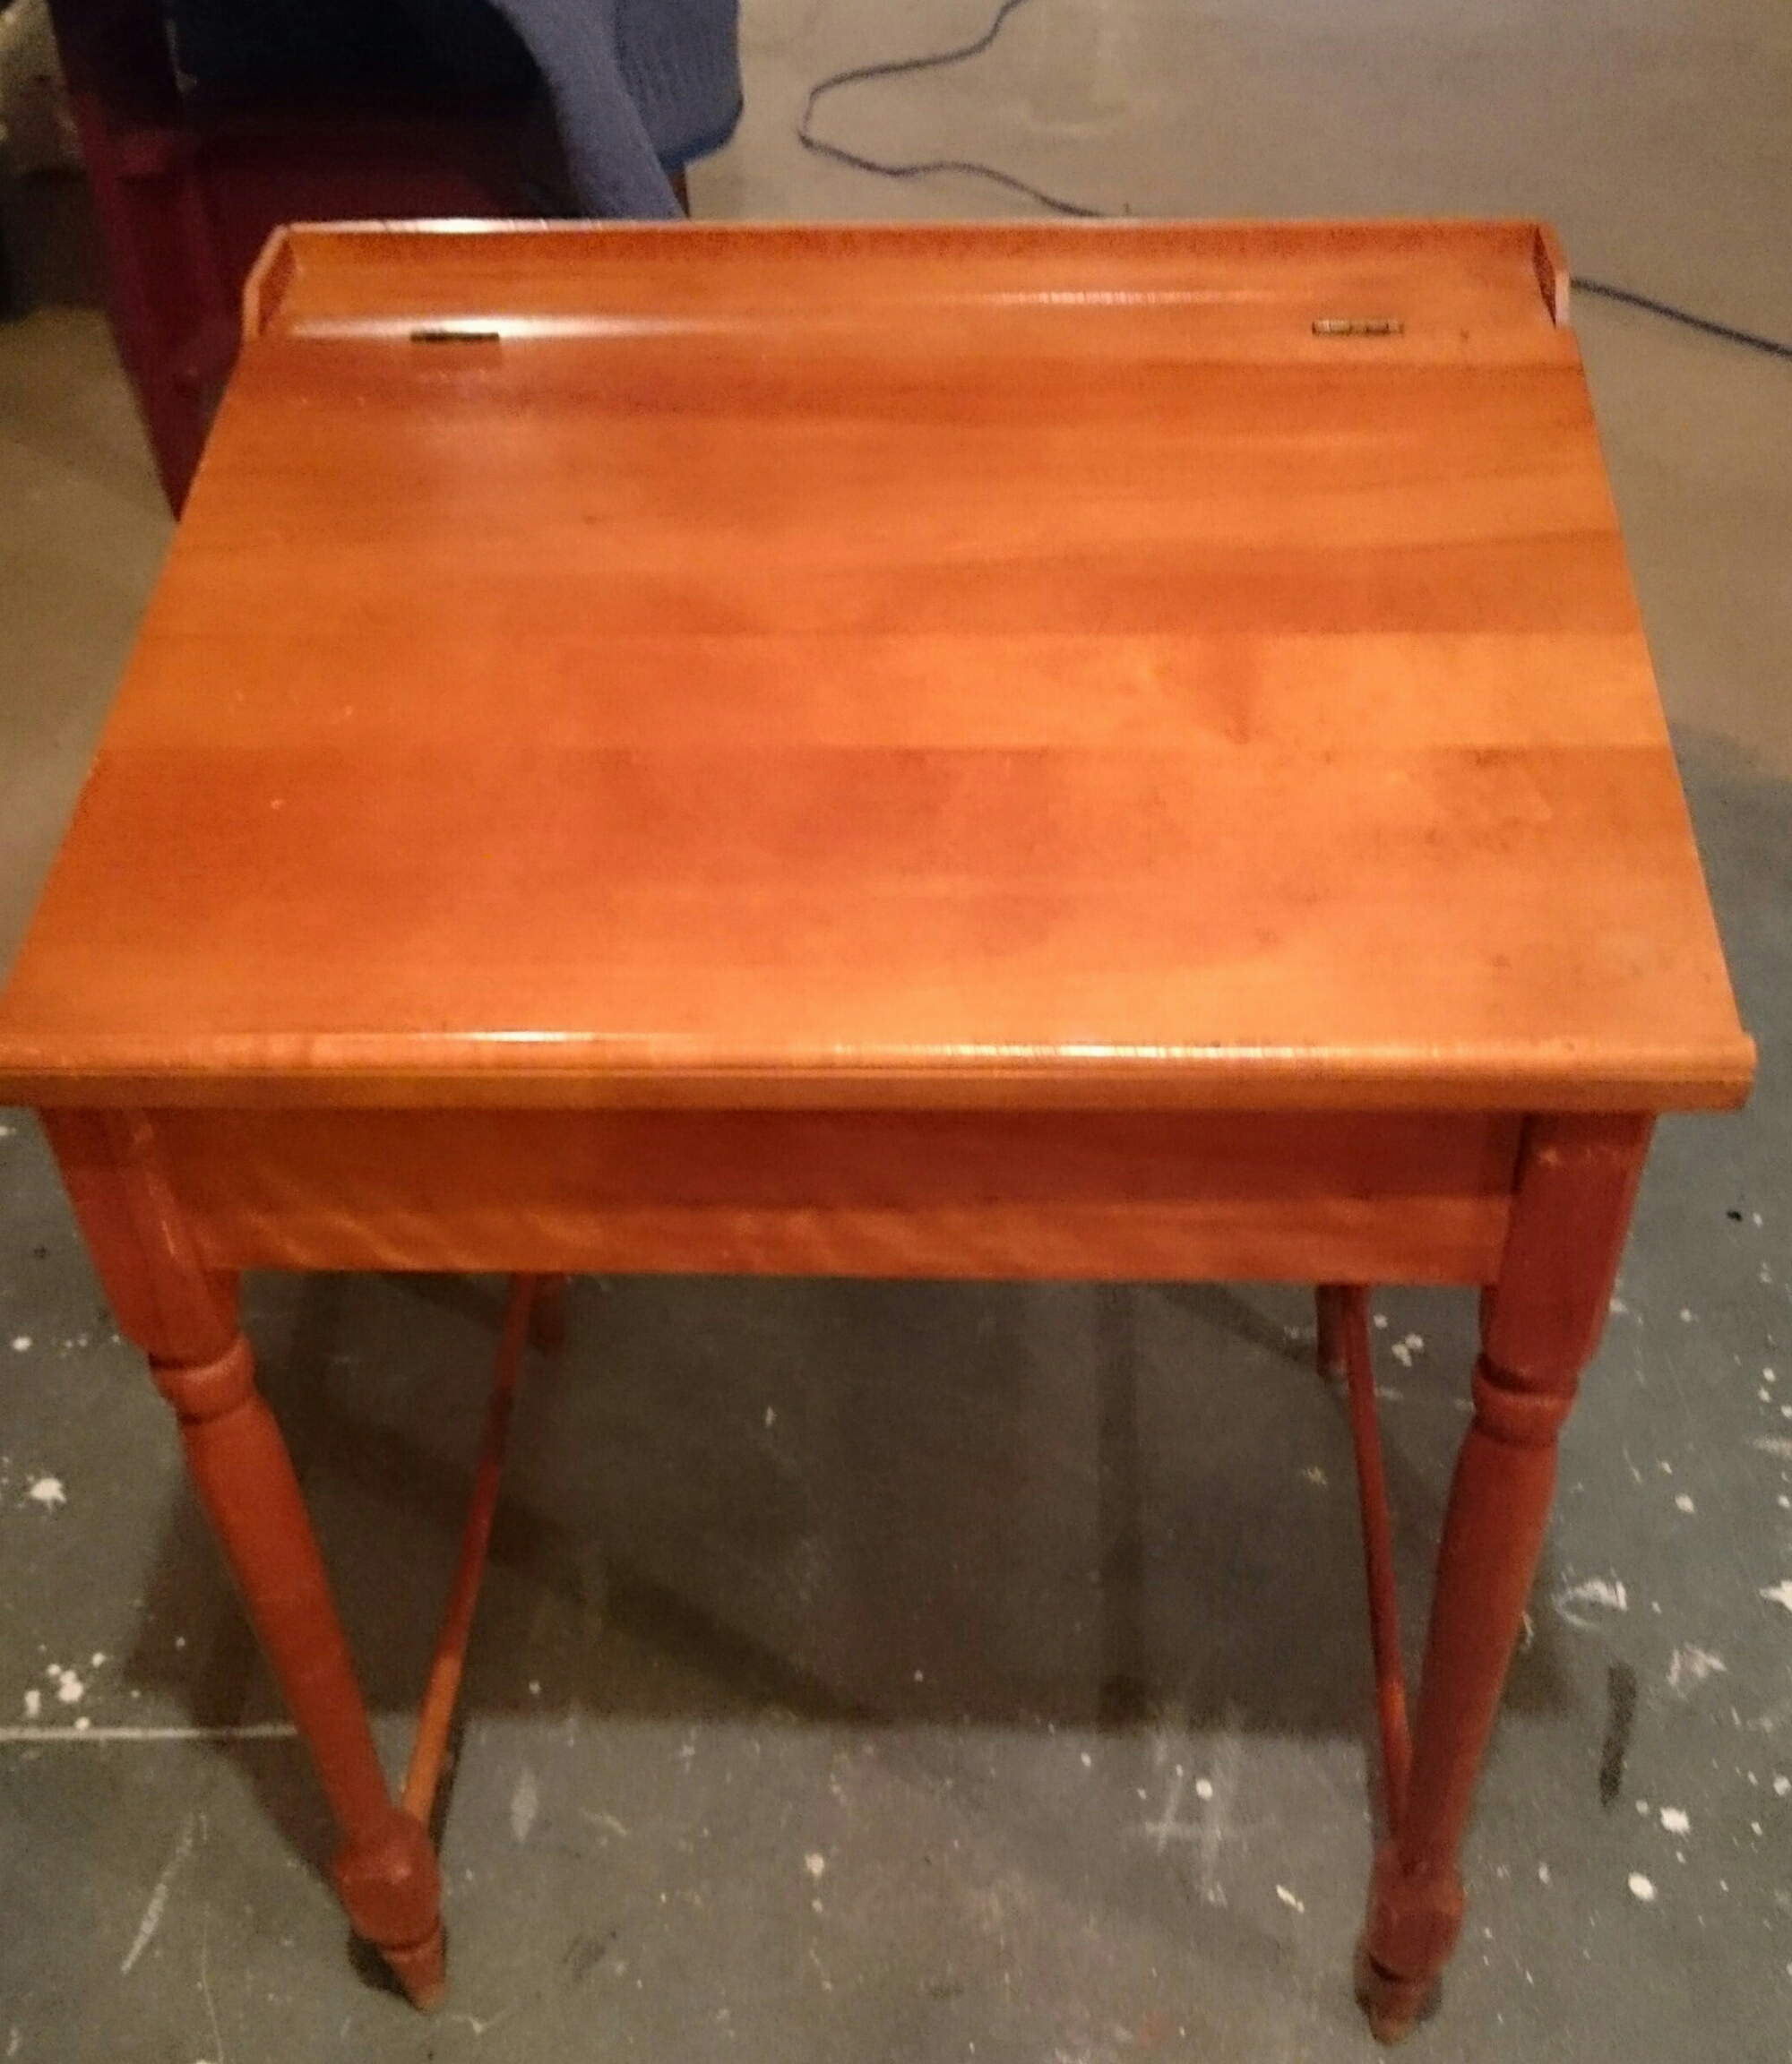
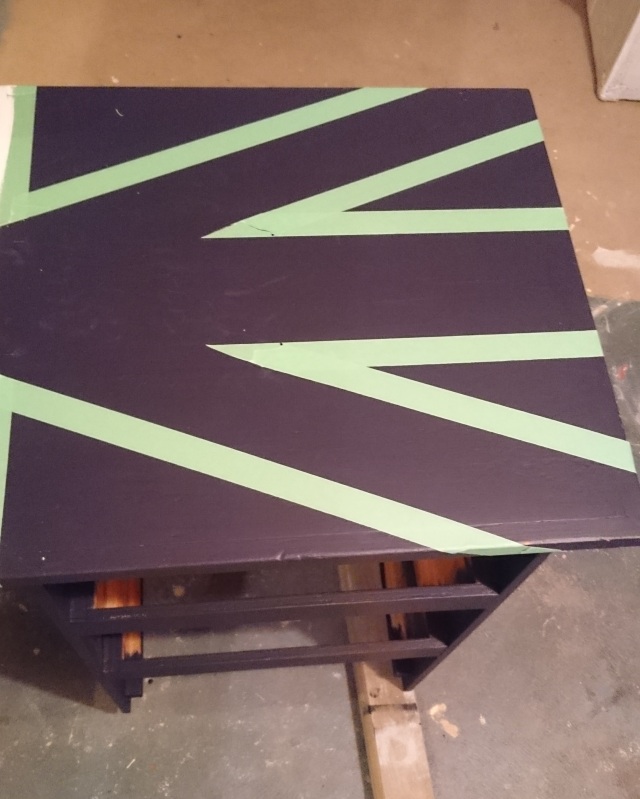
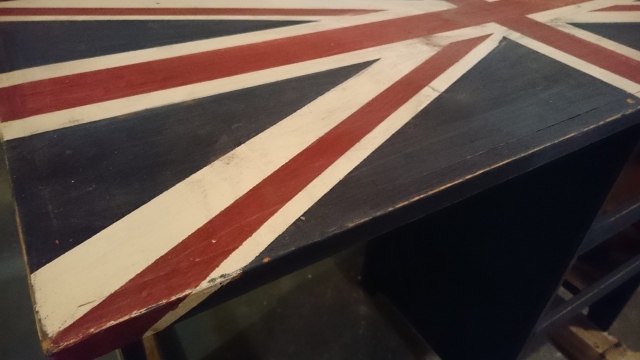
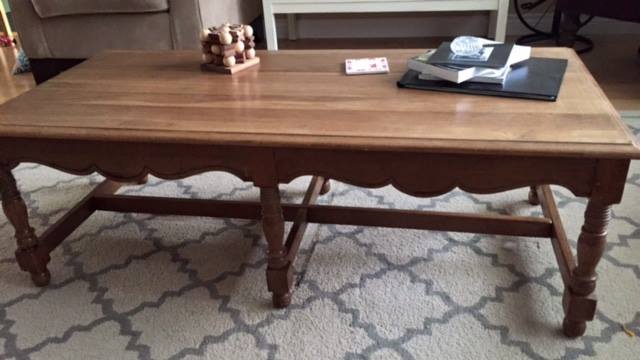
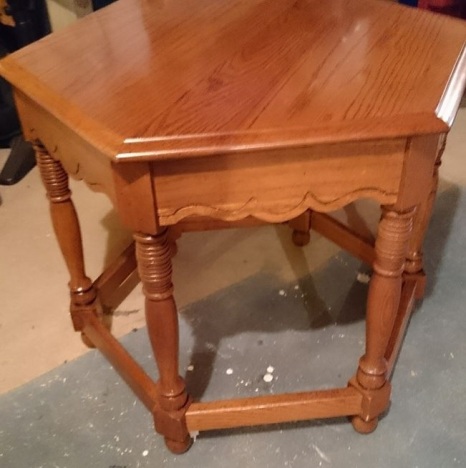
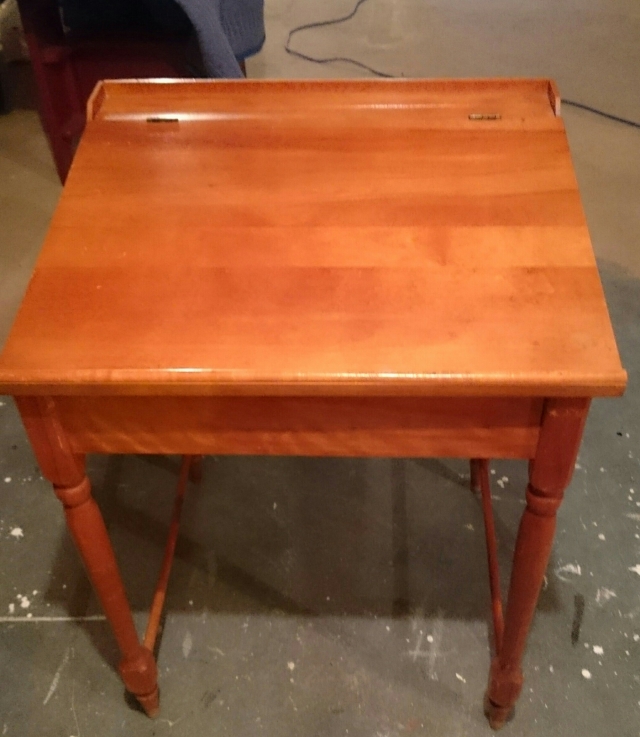
I picked up this flip top desk a few weeks ago.  I loved the shape of it and how versatile it could be.  It’d be a perfect for an entry way, hiding things away or for use as a desk in a living room.

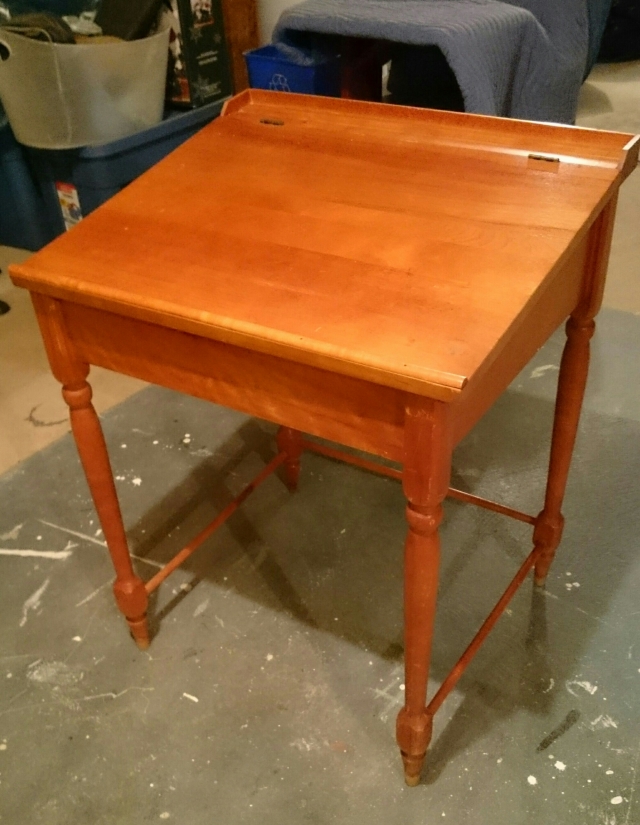
Right away I knew I wanted to paint it Boxwood MMS milk paint.  I love that colour and have only used it on my shutters I painted last fall.  It’s such a beautiful green.  And I’ve been itching to paint with milk paint lately.  I’ve been doing a lot of things with AS Chalk Paint.  I love that paint but it doesn’t give the same look as milk paint does.

Here’s some hints with mixing milk paint.

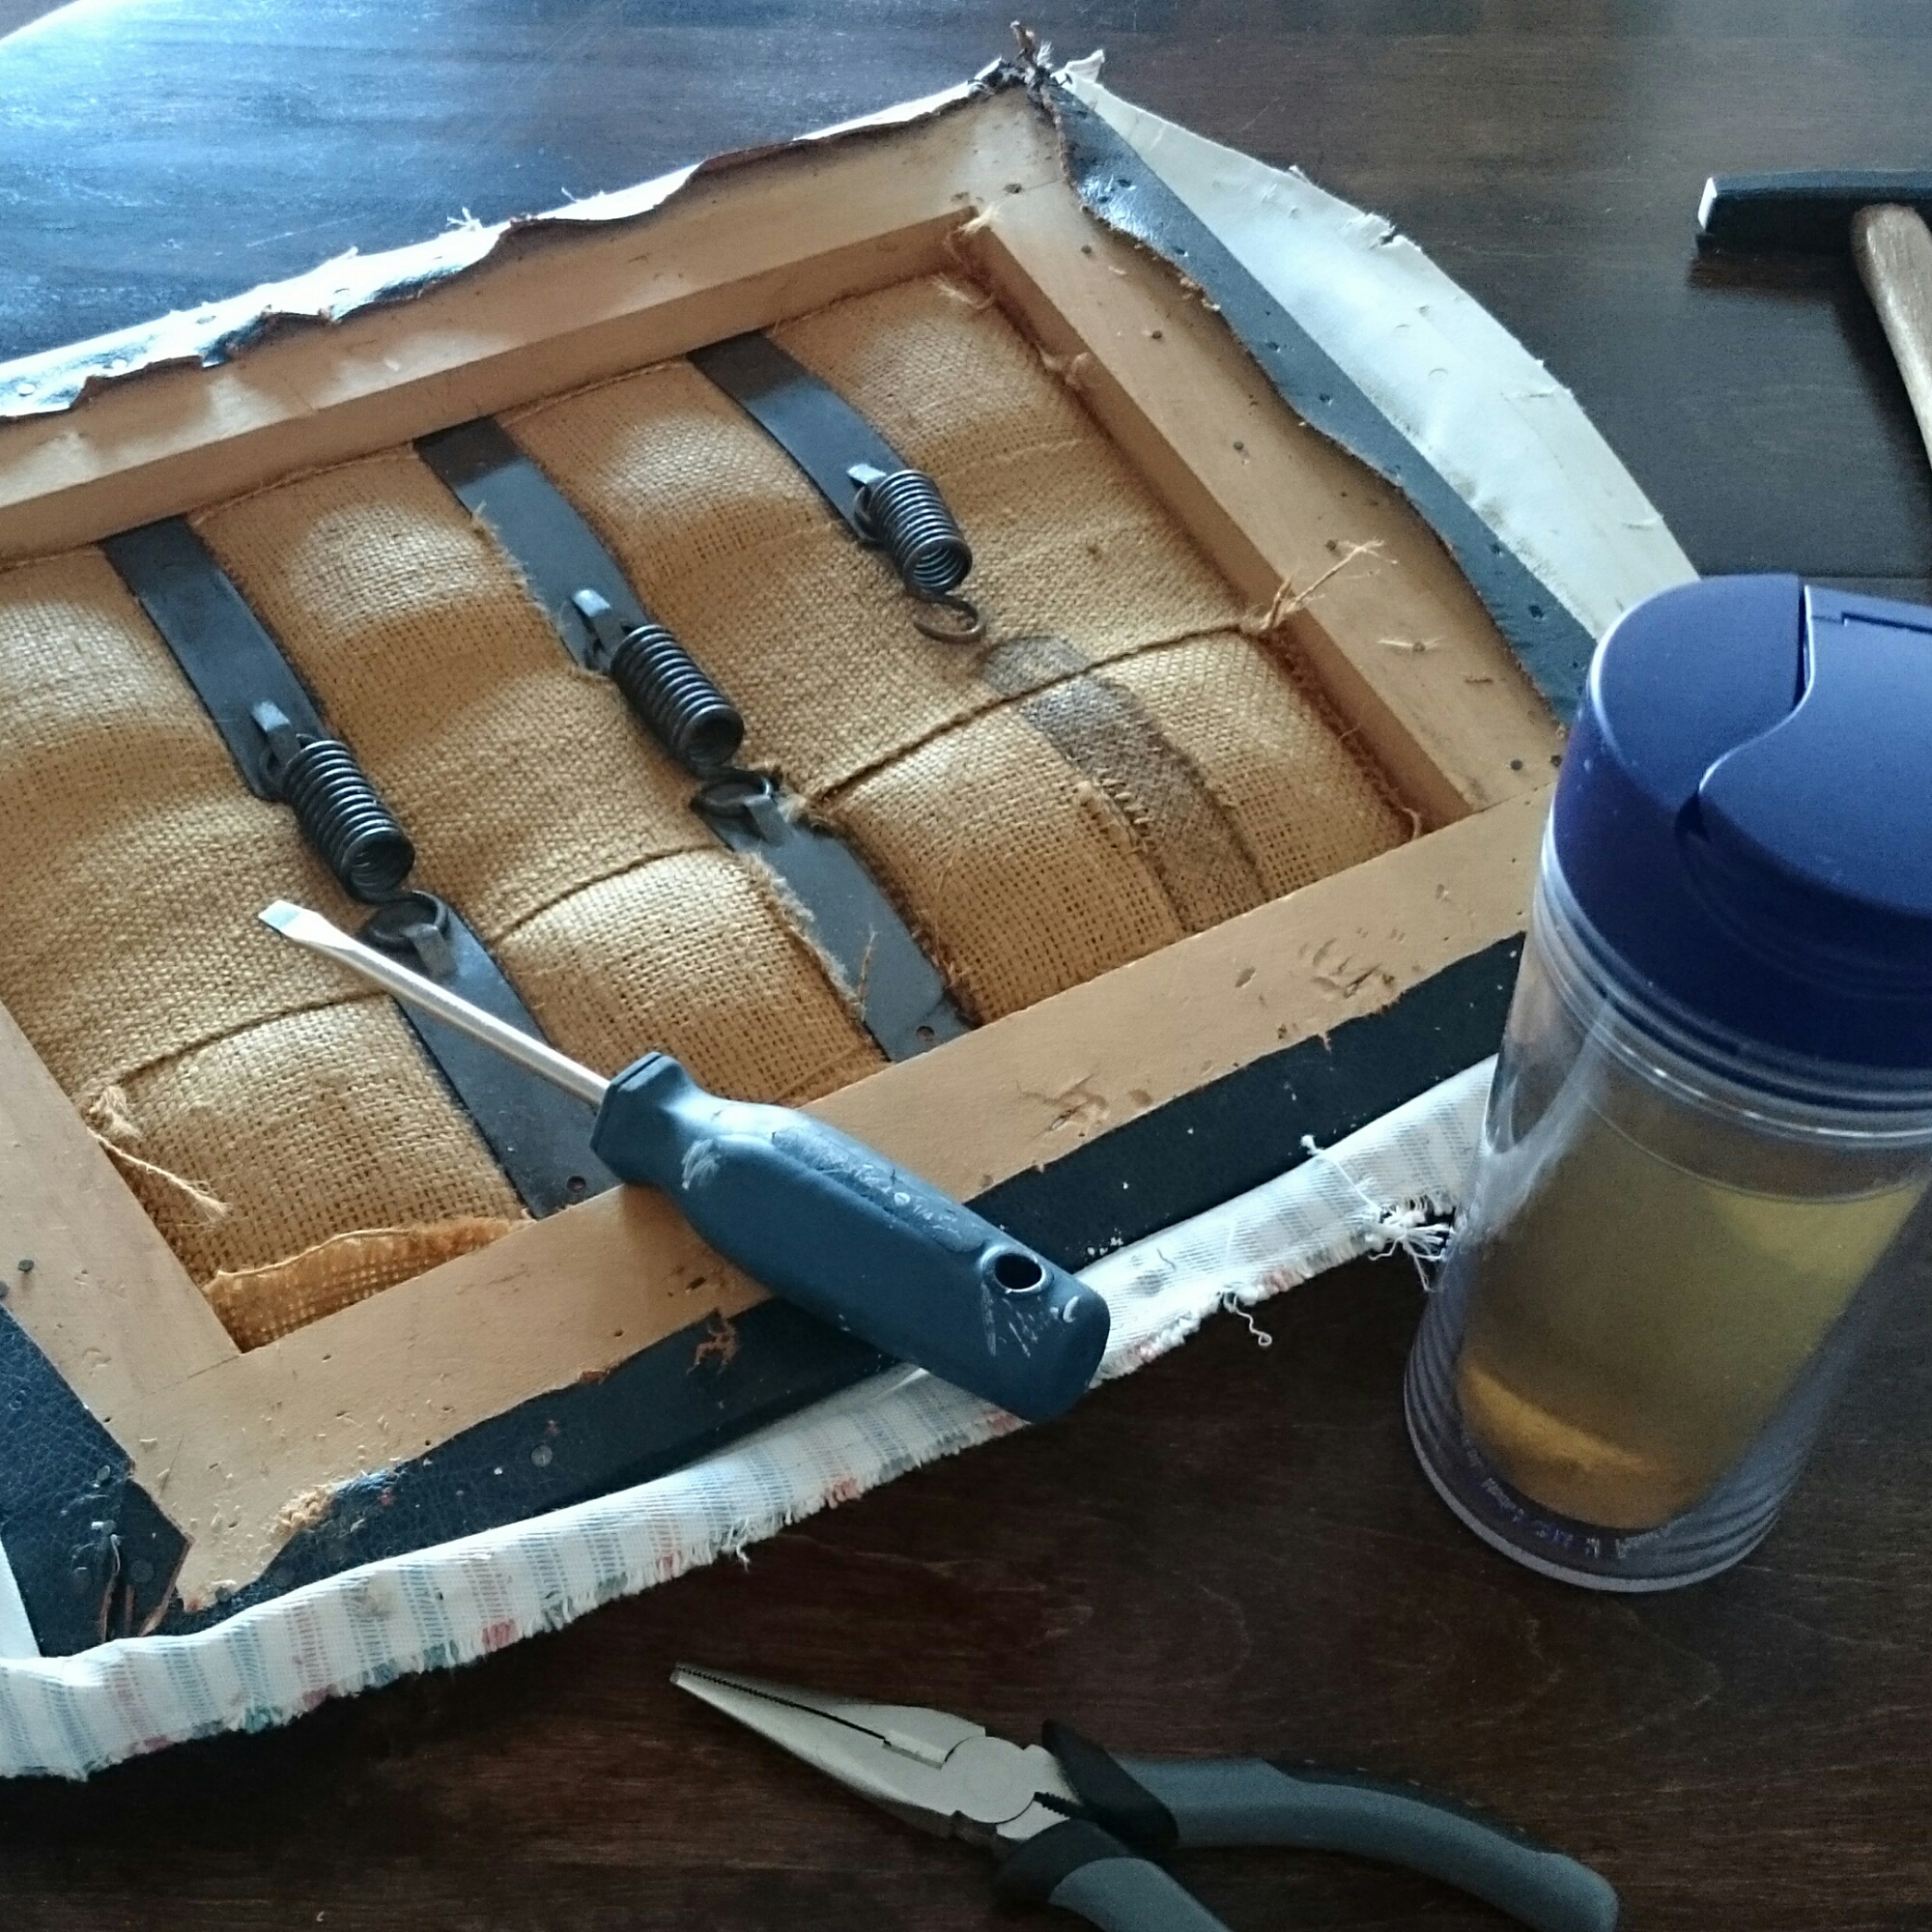
I grabbed all the supplies needed: milk paint, extra bond, water, plastic jar, whisk, and a measuring cup.  Side note, I don’t have running water at my work shop so I bring water in jugs and hot water in a thermos.

I measured out the milk paint powder with the measuring cup.  Before adding water I used the whisk to break up the chunks in the powder.  It will make it easier to mix with the water and have less clumps.

Now the powder is finer…

I added the same amount of water as milk paint powder.  And stirred with a whisk until well mixed and no clumps.  If it’s too watery add a little more milk paint .  If it’s too thick, add water.  It should be similar to milk.

I then added the extra bond, (same amount as water) and stirred well.  I allowed the milk paint to sit before painting.  It allows the paint to thicken up and make sure all of the colour to be absorbed.

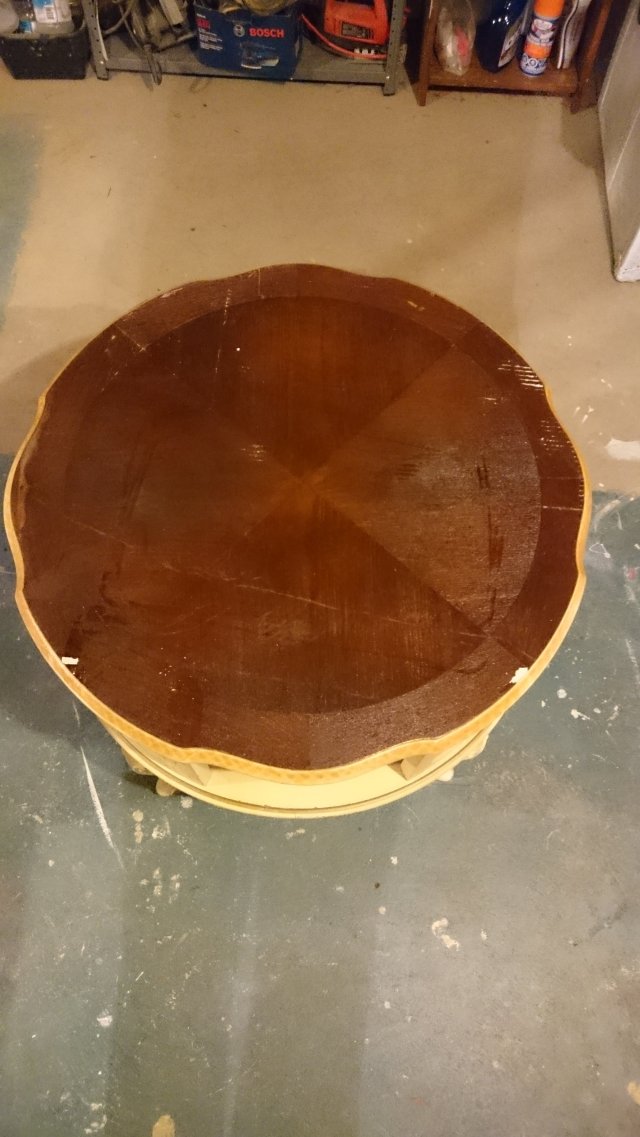
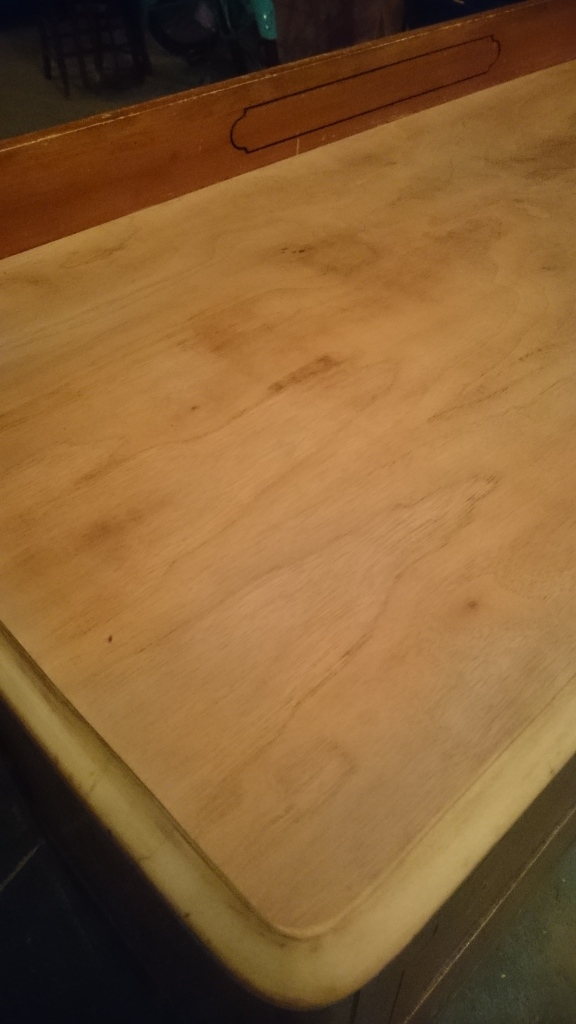
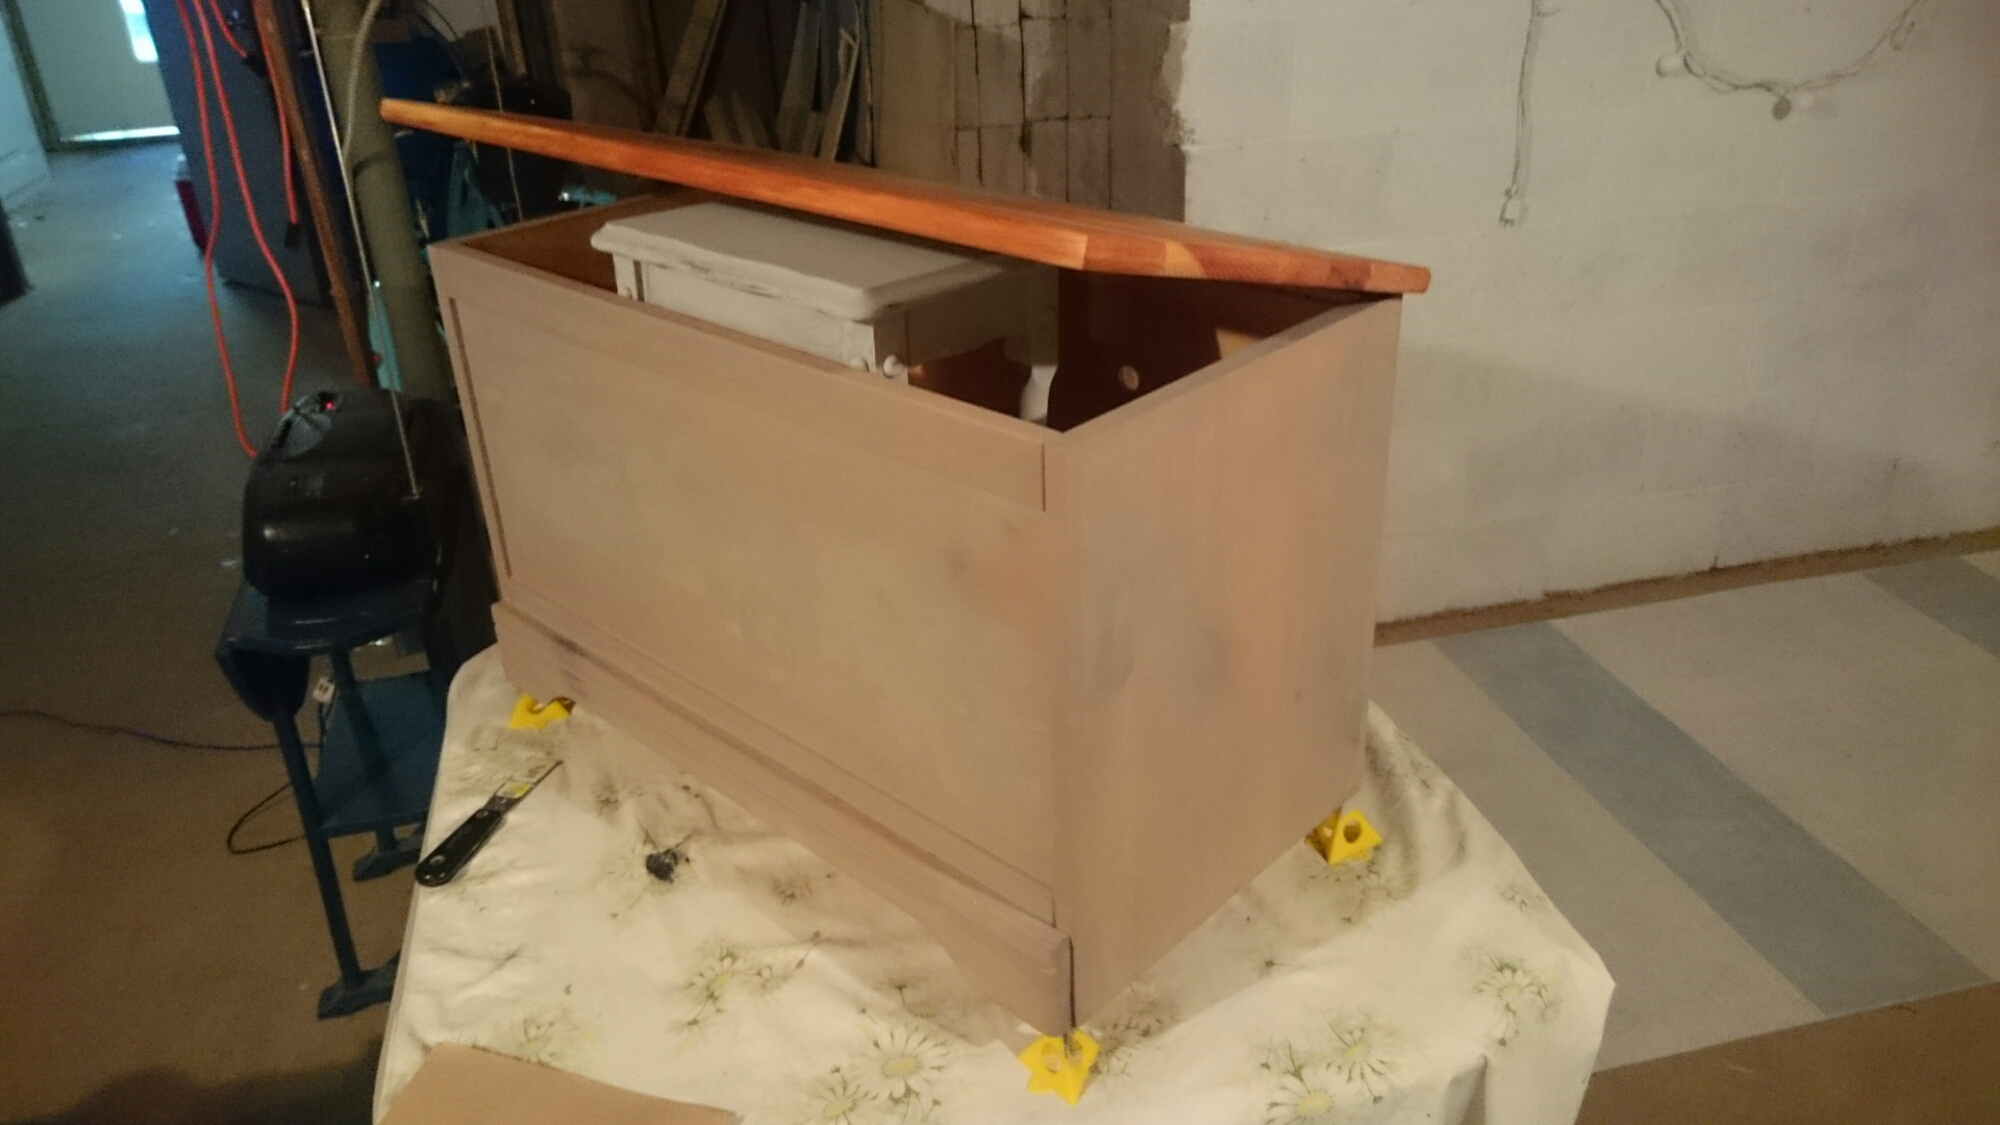
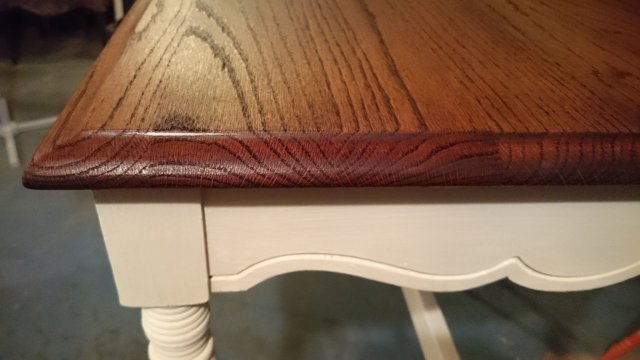
While the paint sat, I prepped the desk for painting.   I lightly sanded and scuffed up the piece, just to give the paint something to hold onto.  Then cleaned up the sand dust and allowed the desk to dry.

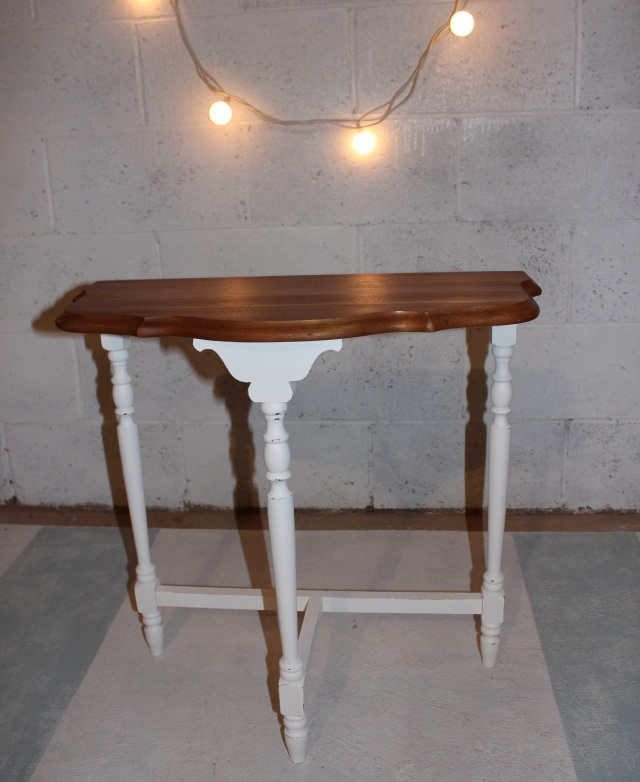
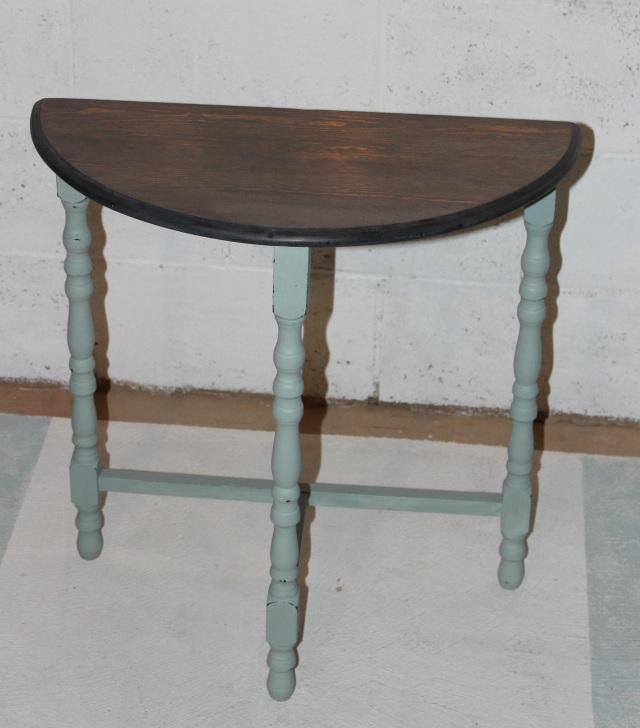
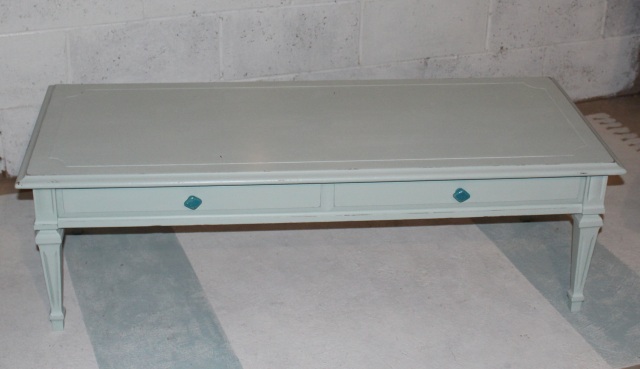
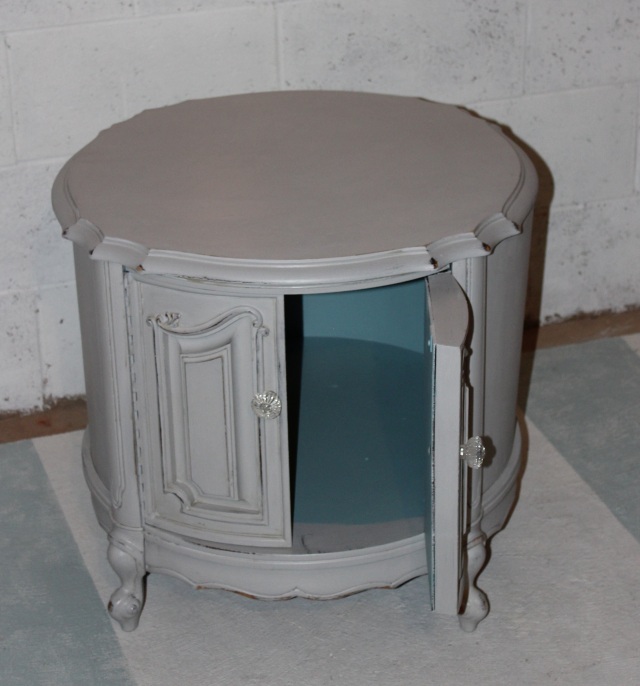
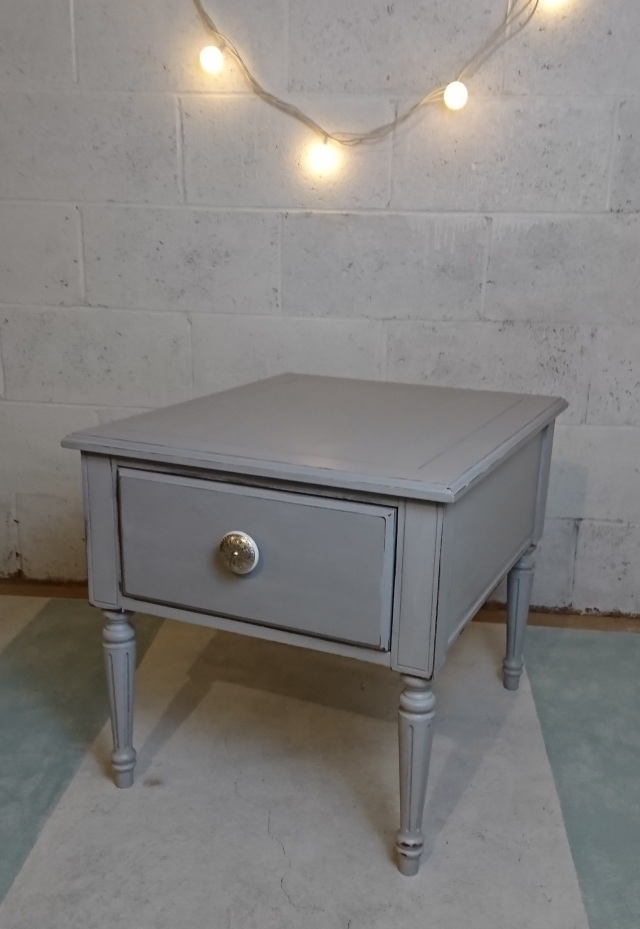
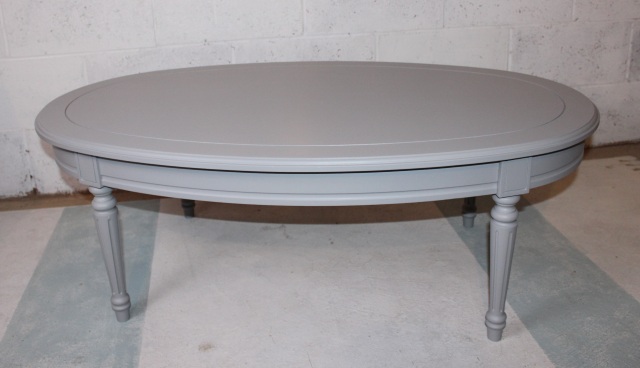
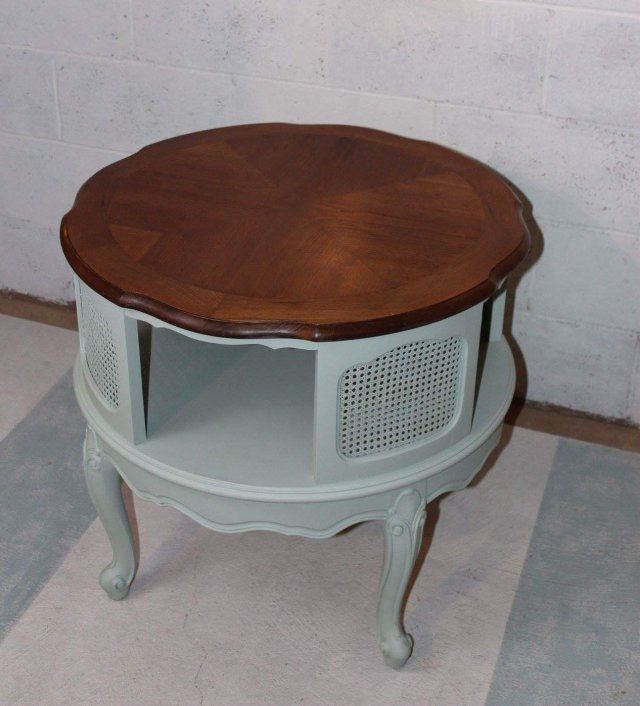
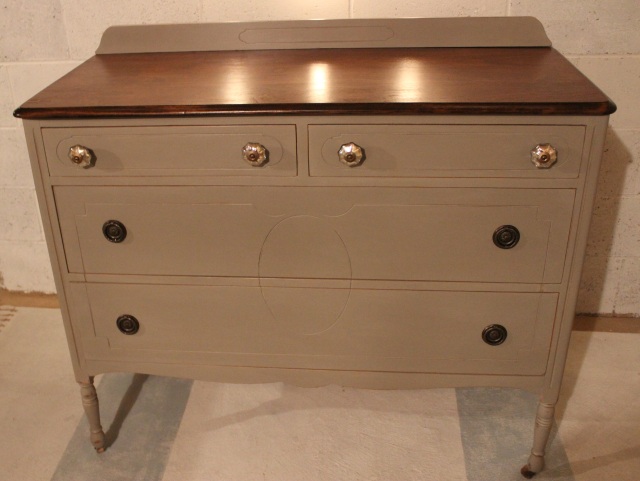
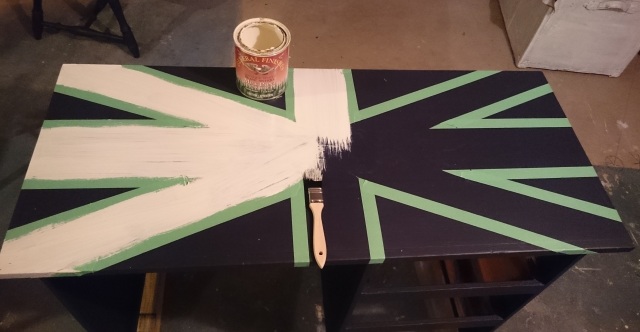
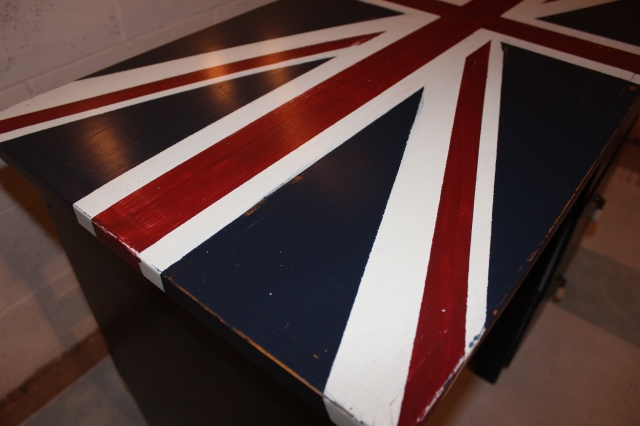
After one coat of paint, the piece may look a little ‘wonky’ and imperfect.  But after two coats, it looks beautiful!  Trust me, don’t let the first coat of milk paint scare you away.    Adding the extra bond allowed the milk paint to bond well to the desk .  There wasn’t much chipping.  If you want chipping and more of a surprise in the result, skip using the extra bond.

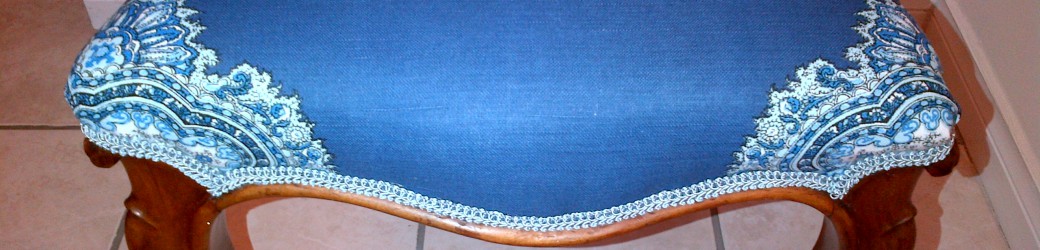
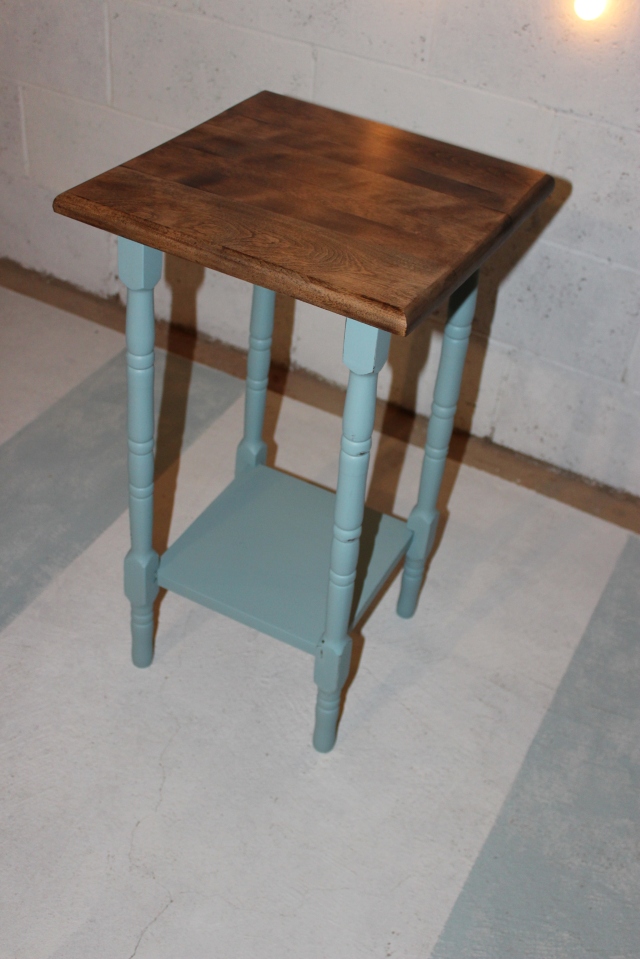
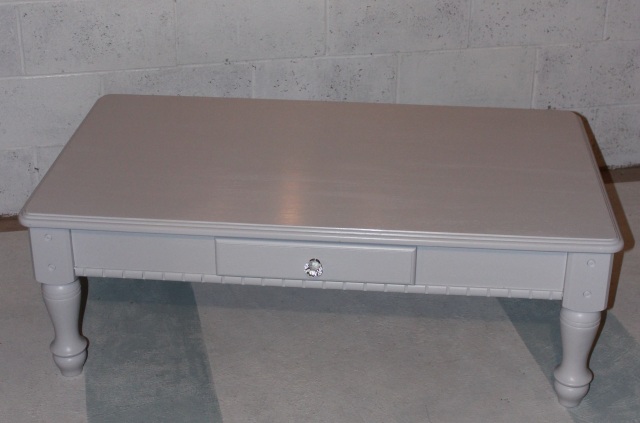
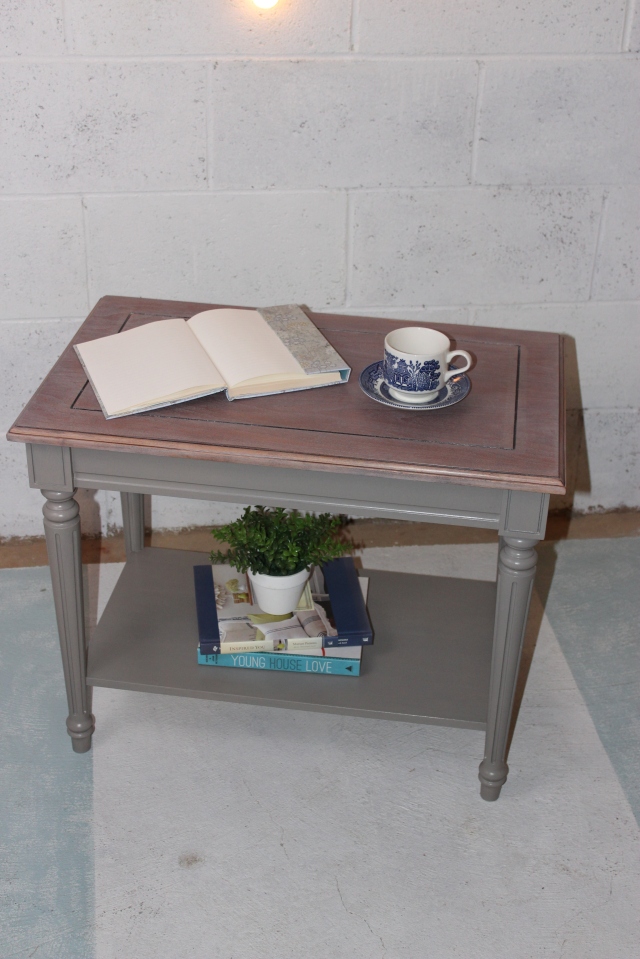
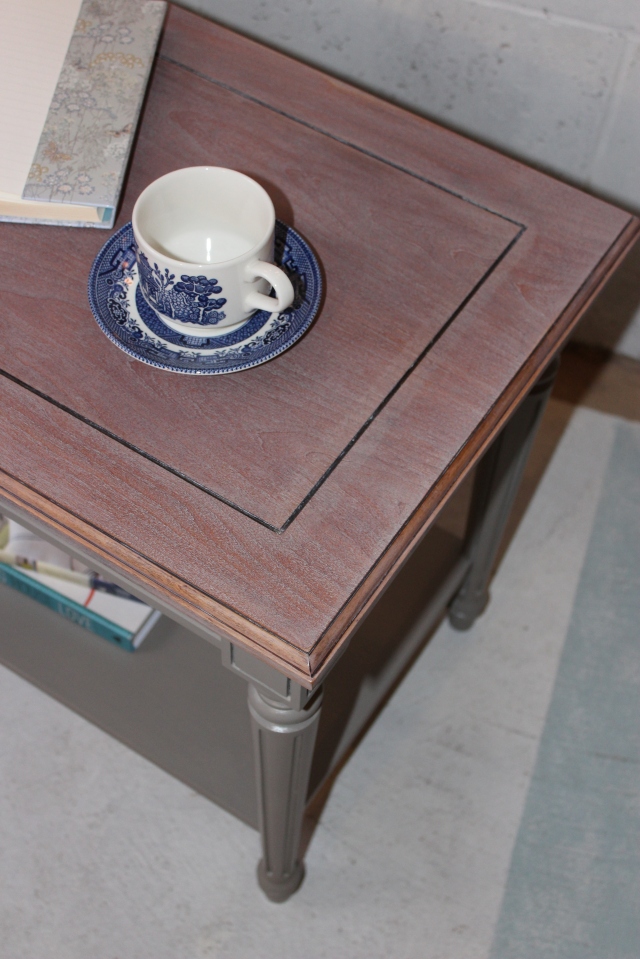
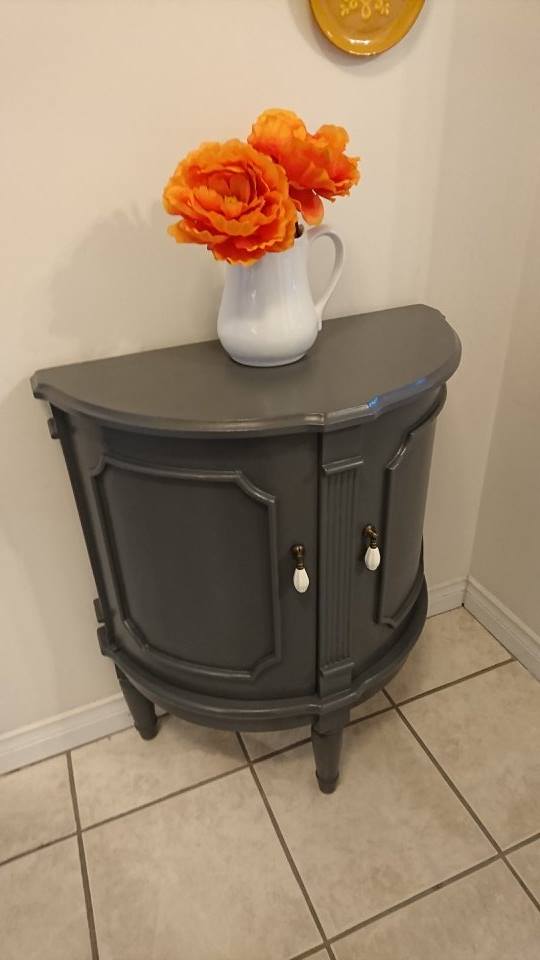
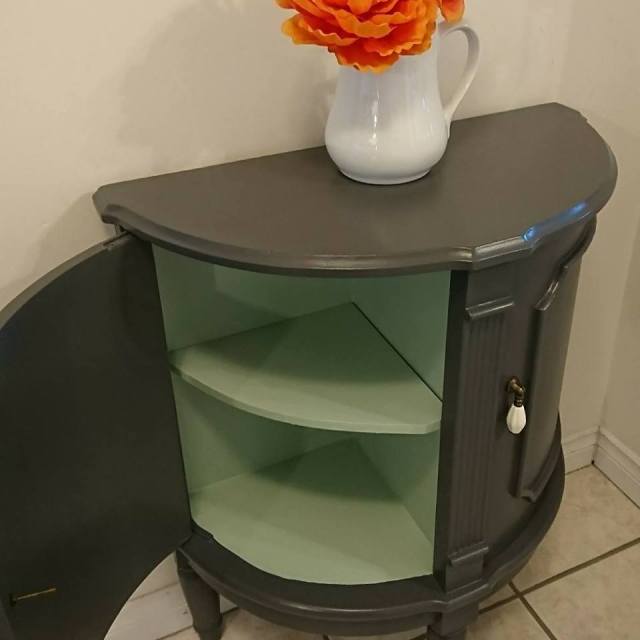
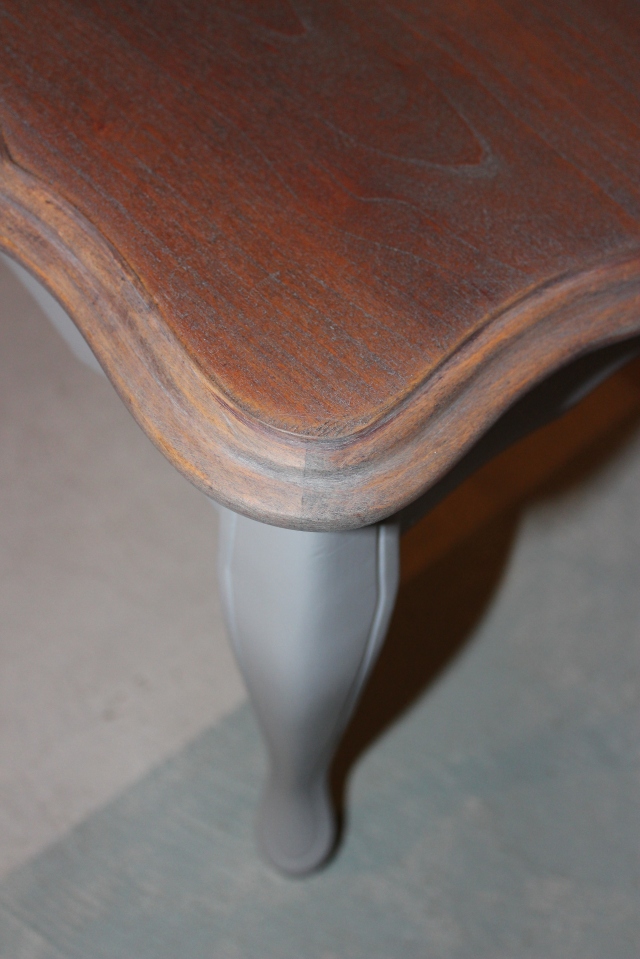
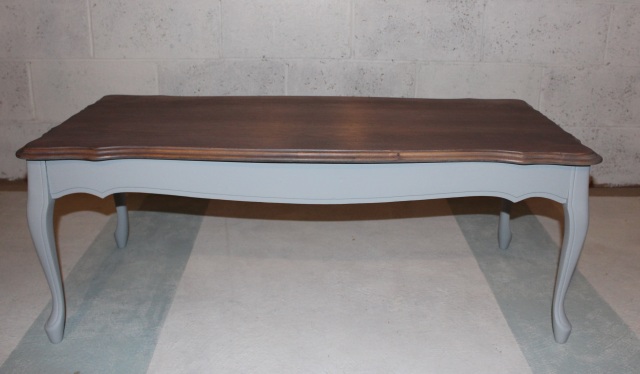
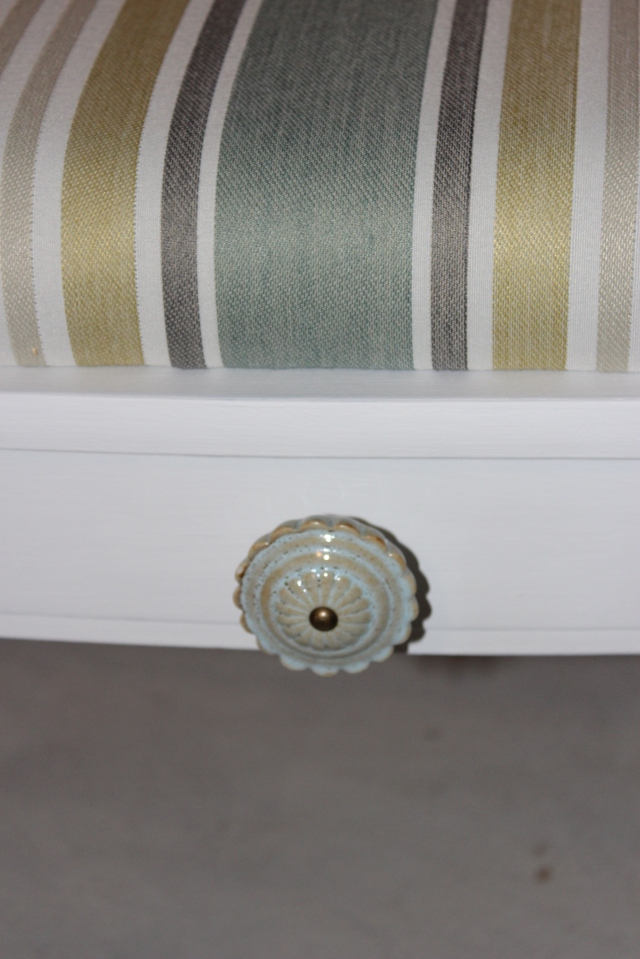
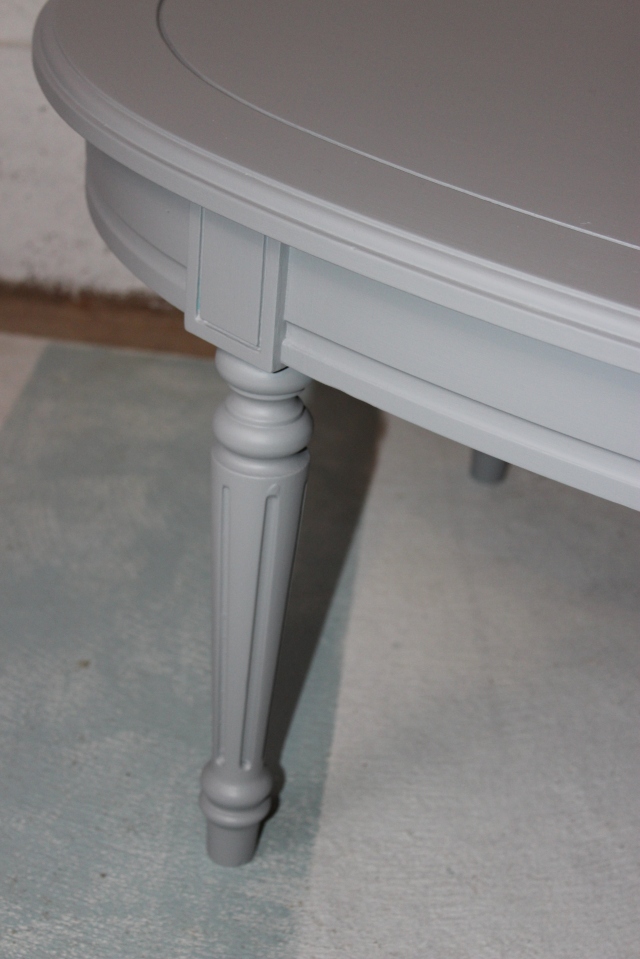
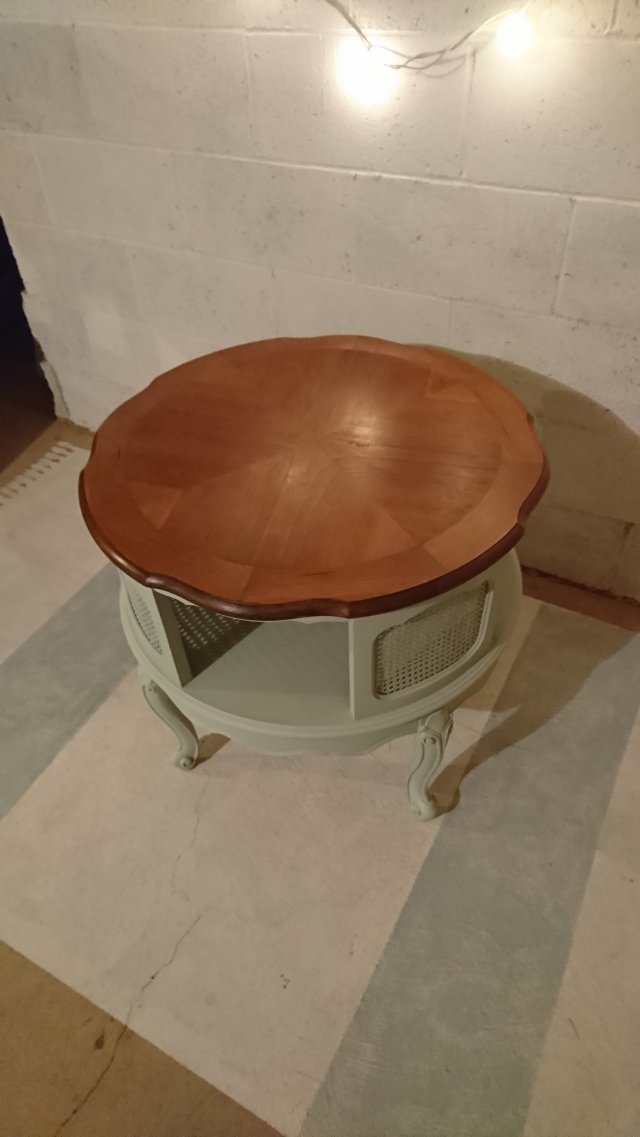
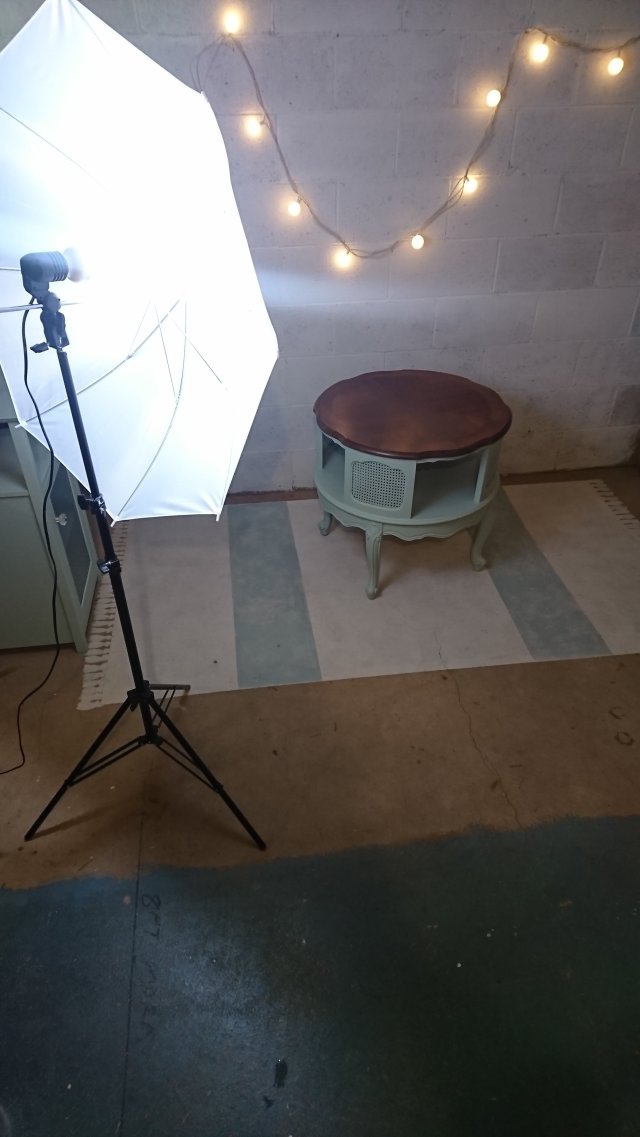
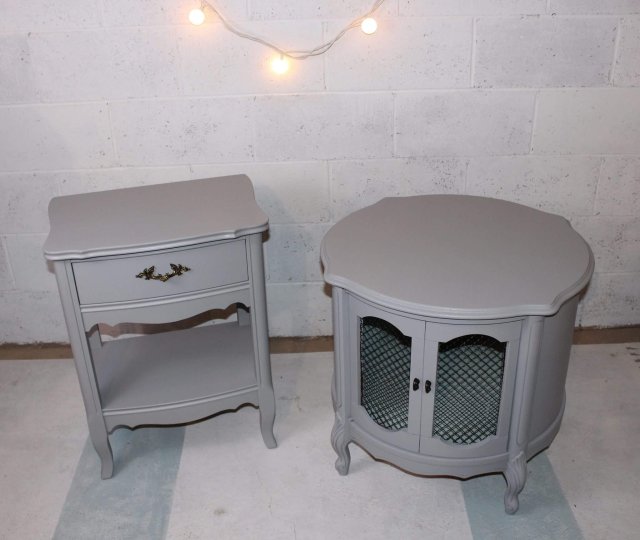
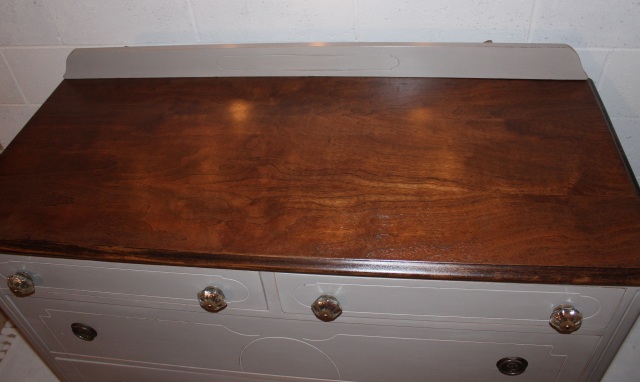
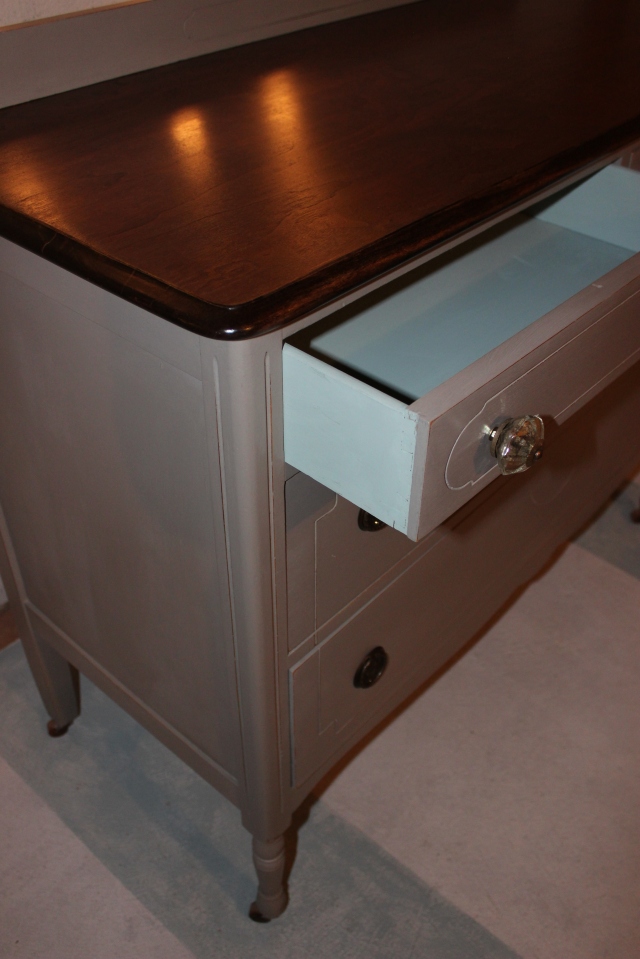
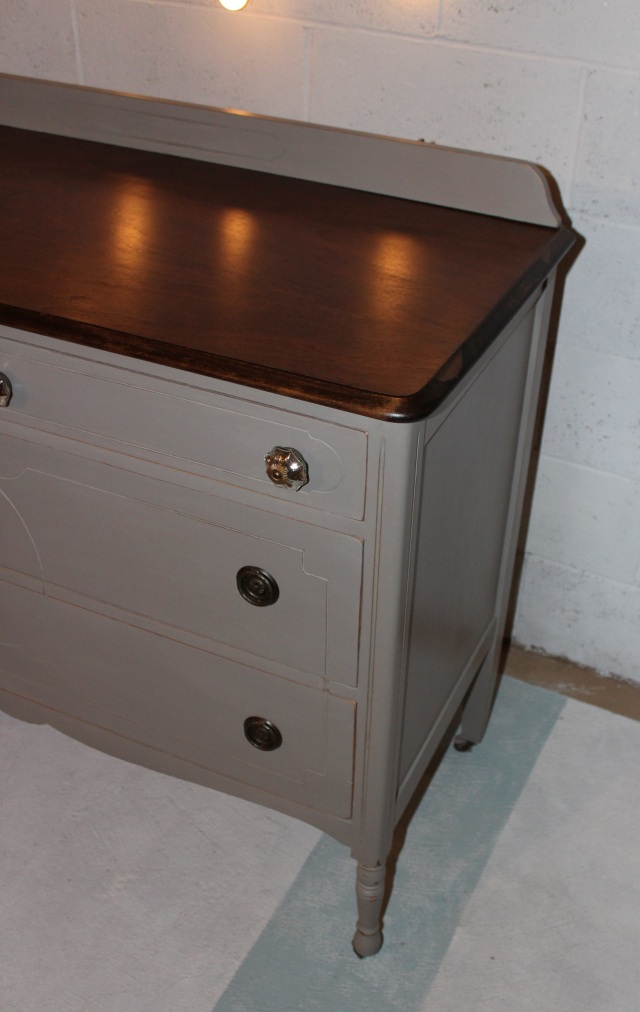
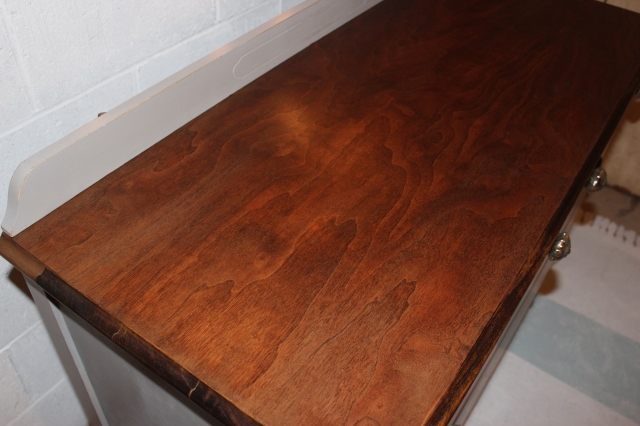
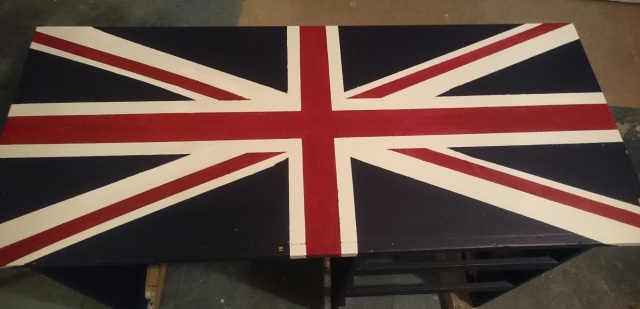
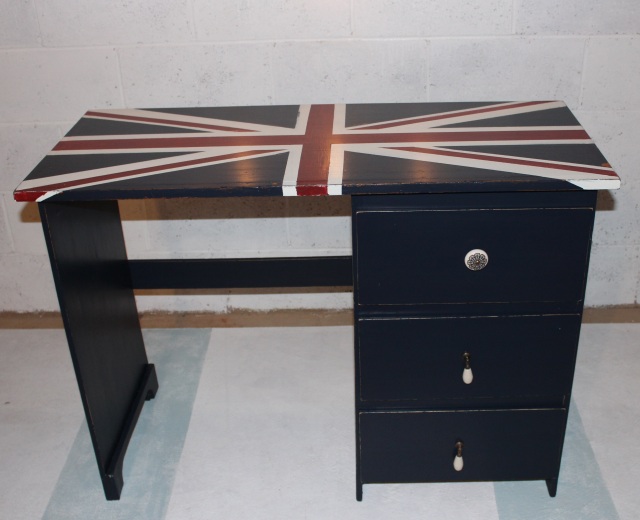
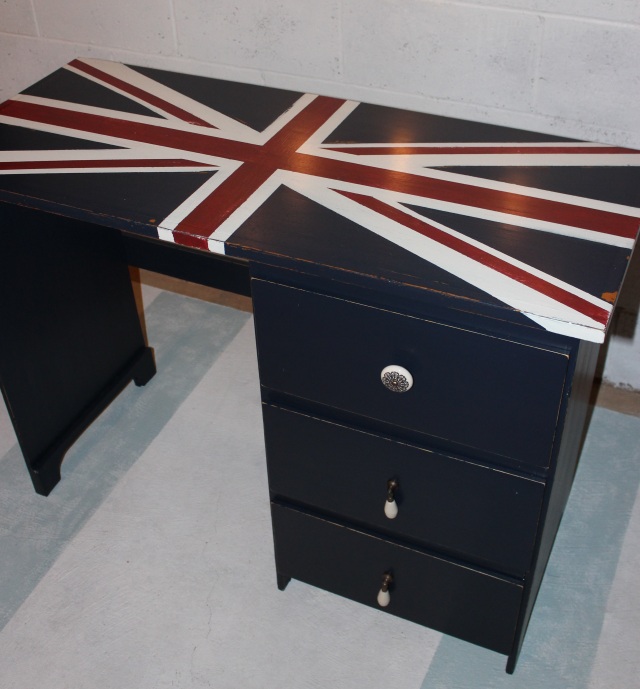
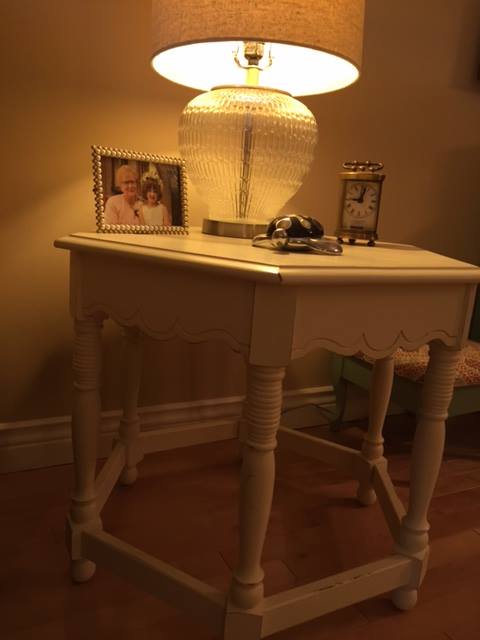
After the paint dried, I lightly distressed and waxed it.  Here it is…

flip top desk after 29flip top desk after 3flip top desk after 6flip top desk after 8flip top desk after 26

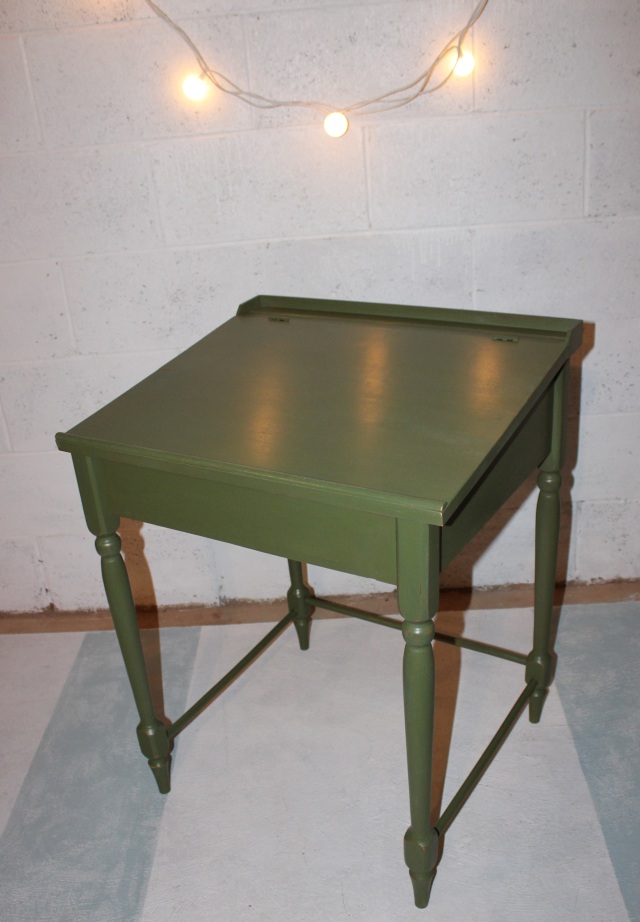
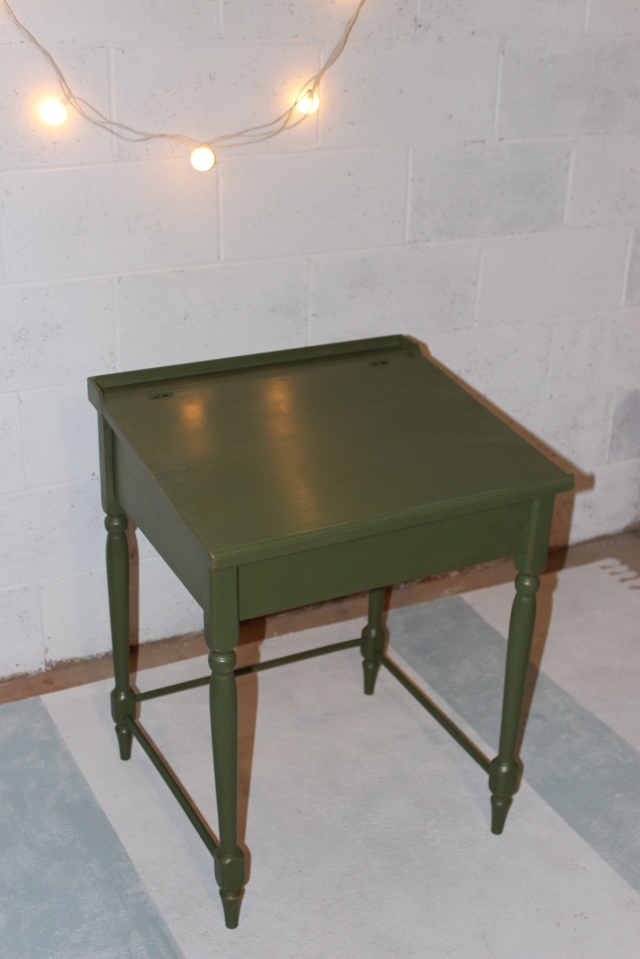
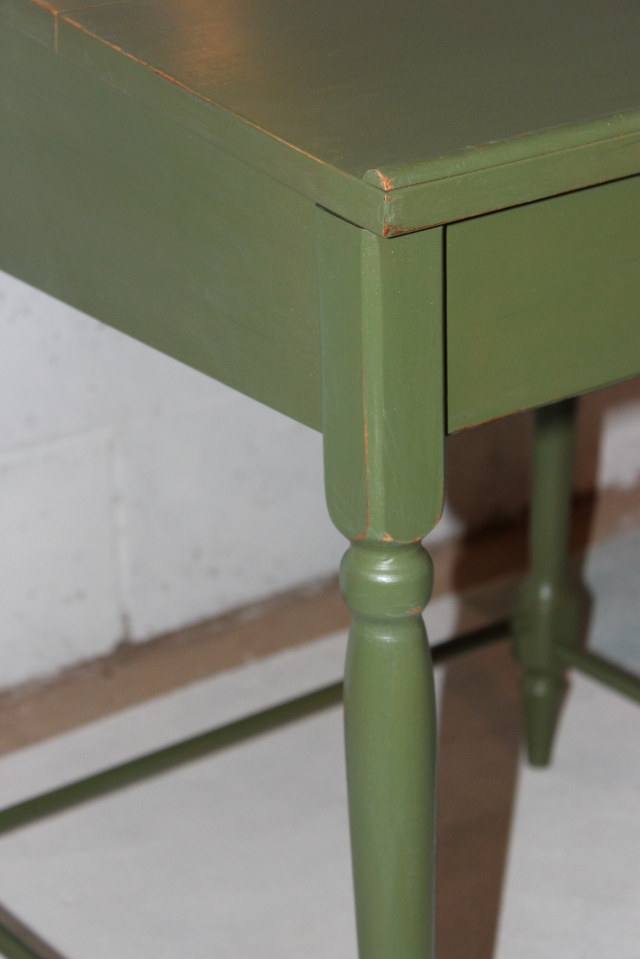
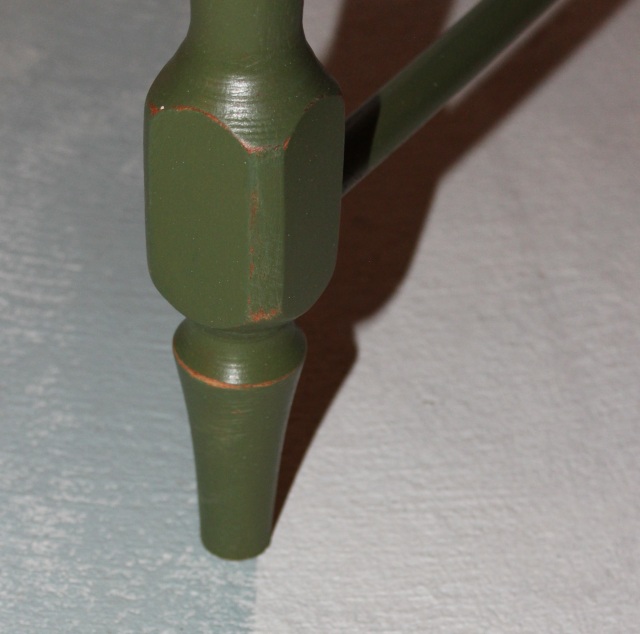
I love this colour. It turned out slightly different than when I used it on my wooden shutters.  But it’s lovely all the same!

Hope the quick tips on milk paint helped.  Milk paint has scared me before but I love using it now.  Such a fun process. And so many beautiful colours to choose from or create yourself.

Laurena

Coastal Blue Desk

I received another furniture donation!  My lovely cousin was getting rid of a couple items from her house and she sent me a message asking if I wanted them.  There was a desk that had great potential, so of course I couldn’t refuse!   Luckily they live just a stone’s throw from my workshop so her husband dropped it off.   Side note: I can’t wait to trade in my Corolla for a hatchback car. Sigh.  Next year for sure!

The desk needed a little bit of repair.  There was some veneer missing on the bottom and I had to fix up the joints to make it more stable.  After a bit of wood filling and sanding the table was ready to paint!

I knew I wanted to use General Finishes Milk Paint, but what colour?  I hadn’t used Lamp Black or Costal Blue in awhile, so I hummed and hawed over the choices.  I chose Coastal Blue.  Love this colour.   One coat of general finishes milk paint does amazing things.  I only needed to do a quick second coat and it was looking good.

I painted two coats of the blue and painted inside the drawers.  I stopped there.  Something was missing.   I loved the navy colour,  but the desk needed something else.  Maybe I’m used to doing two toned style with a wood top.  The desk needed something to make it pop.  I looked for inspiration on Pinterest.   Looked around for stencils I could use.  And finally thought, painting a union jack on the top would be perfect.  Penny and I painted a coffee table long ago and it turned out lovely!

Since I had the paint colours on hand, I was going with the traditional union jack colours.   Red, white and blue.   After looking at a picture of the union jack flag on my phone, I planned what stripe width would work on the desk top.  Using a measuring tape and ruler square I found the center of the desk, and I taped out the middle and diagonal stripes.  I painted the inside of the tape white (after removing some of the tape).   Once dry, I taped out the areas for the red stripes and painted those.

3 drawer desk ip 43 drawer desk ip 53 drawer desk ip 83 drawer desk ip 93 drawer desk ip 10

Once everything was painted and dry, I distressed the desk to make it look more of a weathered flag.  Then sealed with varathane.

3 drawer desk ip 14

3 drawer desk ip 15

The knob choice was difficult.  I didn’t have many matching knobs (lots of pairs but not 3 of them). I chose three knobs that were creamy white, similar to the Antique white used in the stripes.  Love how they look against the navy blue.

Here is the final product!

3 drawer desk after 23 drawer desk after 33 drawer desk after 11

I love how it looks now!   I decided to go with the imperfections of the desk by distressing it. The desk is perfectly imperfect now! 😉

Hopefully it will find a new home soon.

Laurena

Refreshed set of tables

I recently was asked to redo a set of tables, a coffee table and two side tables.  A fellow furniture refinisher had passed along my name to one of her clients and I am grateful for that!  I knew the tables would be a fun project.  I just loved the shape and details on the legs.  They definitely had potential to be pretty again!

m

g

 I was a little bit nervous whether the wood top on the coffee table could be refinished.  But I sanded the top down, the wood grain was beautiful!

image

After one coat of paint on the base and the coffee table was starting to shape up!   The raw wood looked nice with the painted base.  Since the plan was to stain the wood, I was inspired to search for a piece of furniture that I could redo in the future and leave the top bare wood.  That style is beachy and fresh.  And something I haven’t done yet.  I just love the look!

image

Anyway, back to the coffee table… on this table the wood grain wasn’t shining without stain, so I was excited to see how it would look once stained.  After a coat of Provincial, it looked pretty good!  I just love that wood grain.

image

image

Even the side tables were looking better with just one coat of Old white!

 Love all the curves!

image

I did a couple coats of Provincial minwax stain on the coffee table top, leaving the stain on for 20 mins each time.   I painted a few coats of Old White ASCP on the table base and end tables.

I love the look of white furniture, but painting them white is a little painful.  No matter how light the wood is, it seems there’s always a little peaking through the paint.  I made sure to do 3 coats of paint and a touch up coat.  I also had some bleed through on the coffee table, but I used Shellac on those spots and painted over with the Old White.   Shellac works like a charm!

After lightly sanding the chalk paint so it was smooth like buttah and antiique the edges, I applied a coat of wax.  On the wood top I did 3 coats of Varathane in satin finish to make sure it was durable.

Here’s the sneak peak after the two coats of stain and paint.  It’s amazing how the curves were highlighted!  Loved it already.

y

And here are the tables in their home!  I just love how they turned out.  And even better, the client was pretty happy with them!

r

d

t

The tables were a lot of work but its worth it for me to make someone happy with their home.  That’s one big part of furniture refinishing that I love!

I’m taking a break this week, but hoping to tackle a couple desks next week.

Laurena 🙂