Welcome to Tipsy Tuesday! In Favourite Products Part 1, I reviewed some essentials for prepping furniture. In Part 2, I’ll go over the many paint products available and which are my go-to paints.
There are sooo many options for paint. Milk paint, latex, chalk, clay and acrylc paints. Having the wide variety is great for furniture refinishers, so many colours and paint effects to choose from! But, for those who are occasional diy-ers, it’s tough to decide which paint to go with. It’s hard enough to choose what colour! In this post I’m aiming to make the choice a little easier.
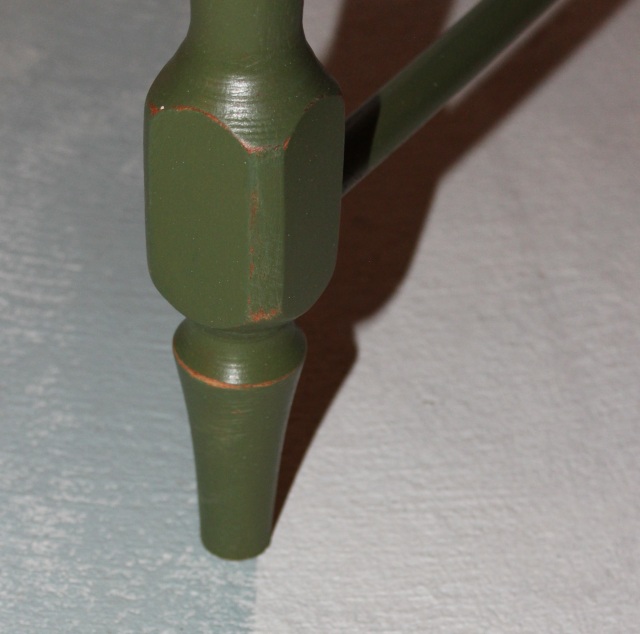
Milk paint: I am not a fan of surprises…but I have one exception: milk paint. With each piece of furniture, chippyness is unpredictable. Sometimes it drives me nuts, but it looks authentic and unique. So I just let it be!
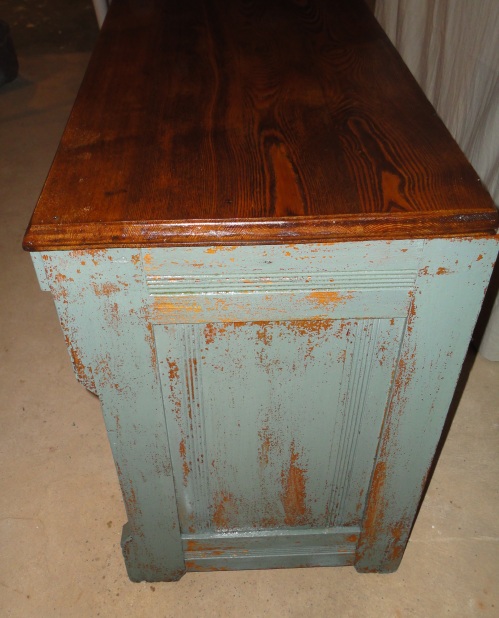
Chippy goodness!
There are a couple types of milk paint, ‘normal’ and acrylic.
Milk paint comes in powder form and you mix with warm water. The best ways to mix milk paint is with a whisk, small electric mixer or a mason jar with a lid. I use a mason jar and shake it good so the paint isn’t clumpy. It may seem scary having to mix your own paint, but you can always adjust the recipe. If it’s too clumpy stir and add more water. If it’s too watery, add a little more powder.
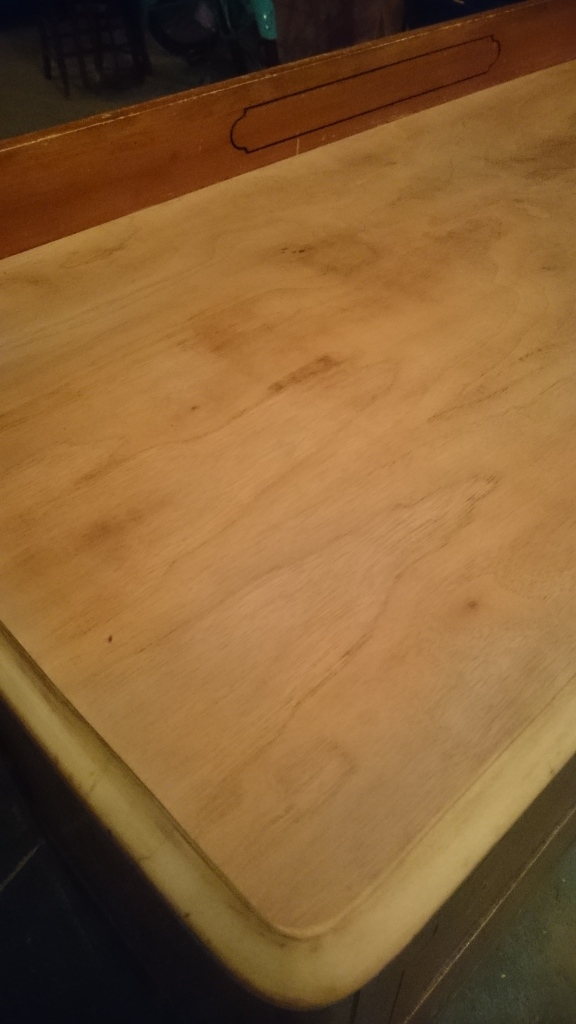
Don’t stop at the first coat! With my first try at milk paint, the first coat looked horrible. It looked streaky and didn’t cover well. I also wasn’t feeling the colour yellow so I painted over it. BUT I’m sure another two coats and some dark wax, it would have looked good.
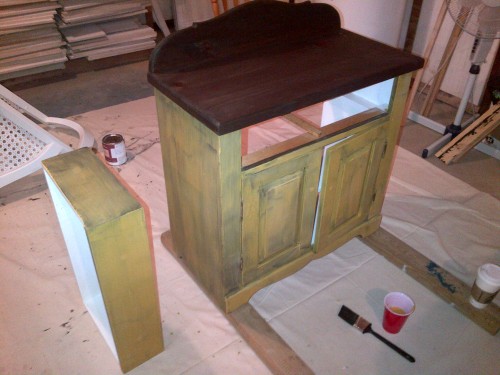
First attempt with milk paint
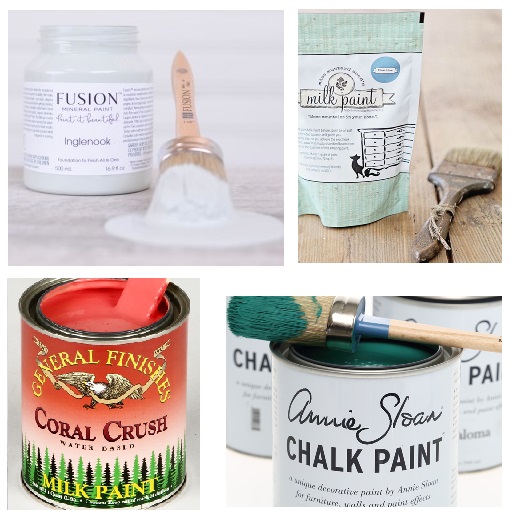
I’ve used Old Fashioned Milk Paint and Miss Mustard Seed’s Milk Paint. Both are great products. The colours available are beautiful and can easily be mixed to make custom colours. Make sure to keep track of your ‘recipe’ if you need more of the colour.
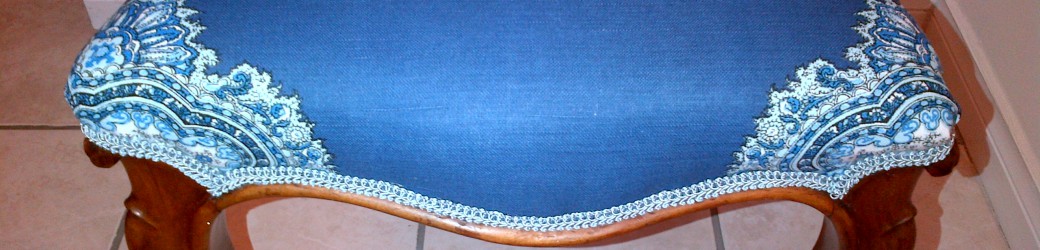
Benefits: Milk paint looks great on all furniture. You can add a bonding agent to reduce chippy-ness. I love using milk paint on antique style furniture especially those with carvings. Milk paint isn’t made of chemicals, has no odour and is easy to cleanup.
Cons: Chippyness. It can be unpredictable. If it scares you or you want a modern look, add the bonding agent.
Acrylic-based milk paint is great too. I’ve used General Finishes Milk Paint and I absolutely love it! It’s not a ‘true’ milk paint, its acrylic based and comes pre-mixed. But the quality of the paint is very good. It has a low odour, which is a big plus. It doesn’t give the ‘chippy’ look so you can either distress the furniture or leave it sleek and modern. There are a few colours available and they also mix well for different colour options. I’ve painted several pieces in Lamp Black, Tuscan Red, Antique White and Coastal Blue, all beautiful colours. GF milk paint’s coverage is superb! Two coats usually does the job. The paint gives a beautiful finish especially after sealing with a satin finish.
Benefits: So many! I can’t think of any reason not to use this paint, I just love it.
Cons: None, haven’t come into issues with this paint.
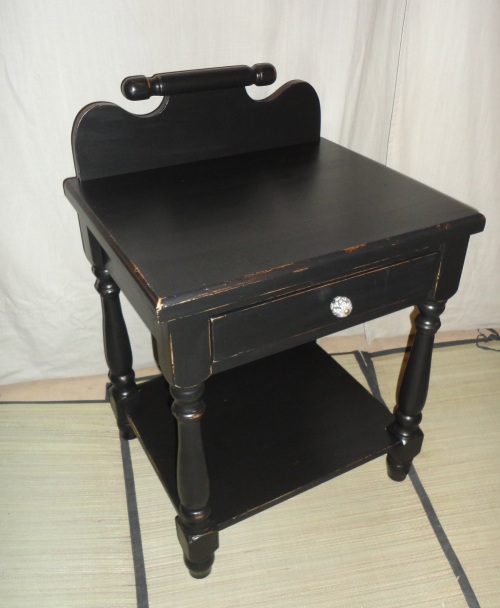
Lamp black
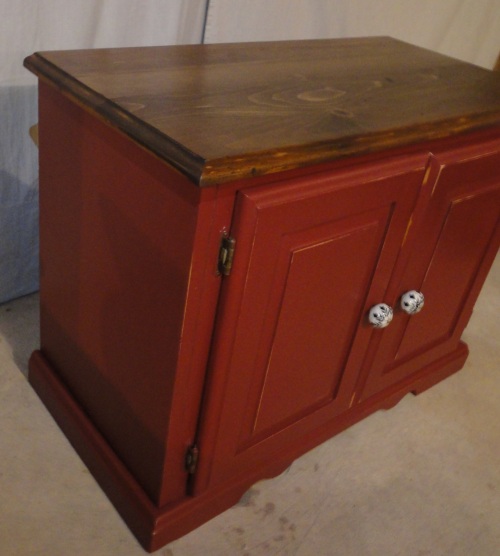
Tuscan red
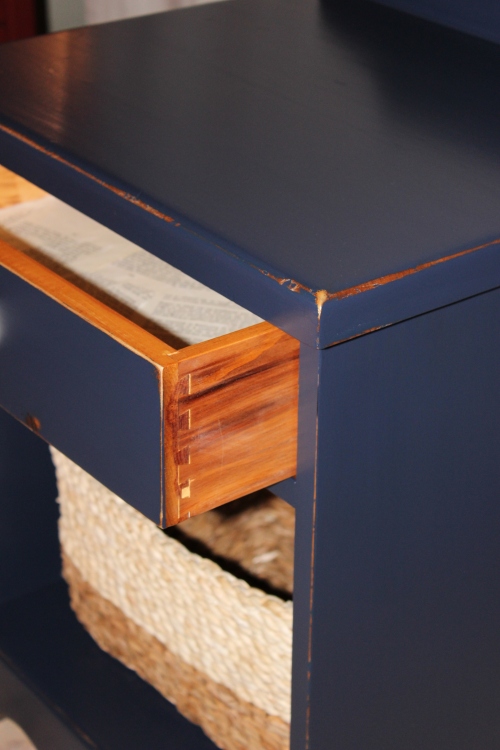
Coastal blue
Annie Sloan Chalk Paint: I finally tried ASCP recently! A shop in the city recently started to carry the paint! I took a fun painting class at the shop where I learned a few tricks.

Playing around with ASCP
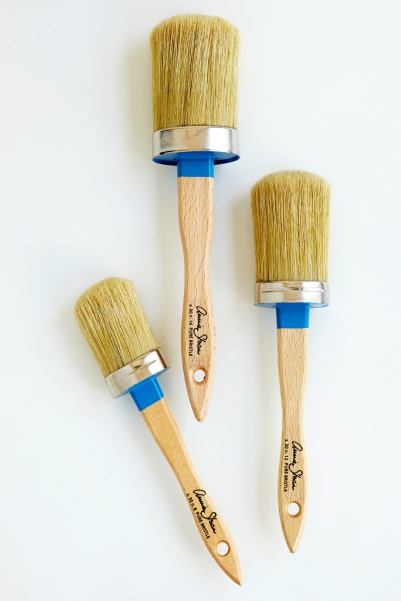
Chalk paint is just that, paint with chalky additive in it. It allows the paint to cover very well with no prepping. Before opening the can, turn it upside down for a bit to allow the paint to mix. Then mix it well with a paint stick when you open it. That just makes sure all the colour and chalky goodness mixes properly.
Benefits: ASCP is very versatile. You can paint anything, wood, metal, fabric. No lie. And you can use it for different furniture styles, distressed/antiqued, modern/sleek, and any style you like. Great coverage and no prepping needed, no sanding or priming, oh my! You can distress the piece of furniture using sand paper…or even a damp sponge (the green/yellow kitchen sponges). Love that. There’s not much I don’t like about ASCP.
Cons: The paint is expensive…but a little paint goes a long way.
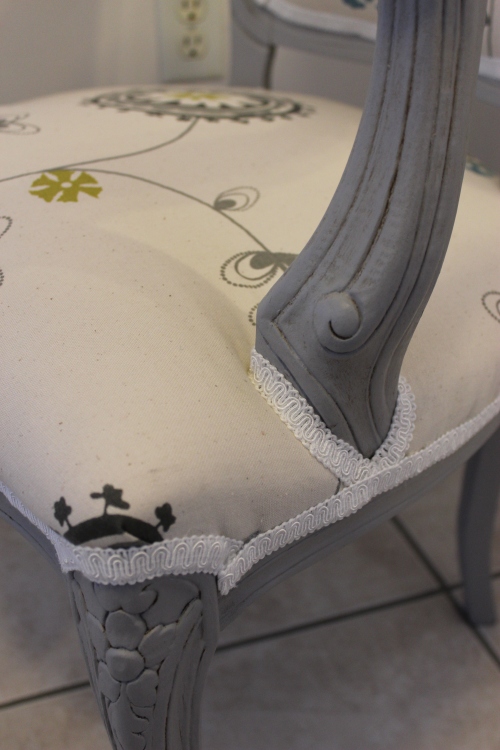
Paris grey ASCP with dark wax
Homemade chalk paint: I’ve made my own chalk paint mixture using plaster of paris (POP), a little bit of warm water and latex paint. I don’t measure usually, just go by consistency. I try to make it like greek yogurt, if that helps. I think lighter colours are best when mixing with POP. Mix well to avoid clumps and the finished product won’t look chalky. It bonds well with any surface, so little prep needed. Once its sanded lightly then waxed…the piece is smooth like butter!
Benefits: Cheaper than ASCP. Make your own using latex paints and there are soooo many colours available.
Cons: You have to sand to make it smooth. If you don’t mix it well or use warm water, it can look chunky or chalky.
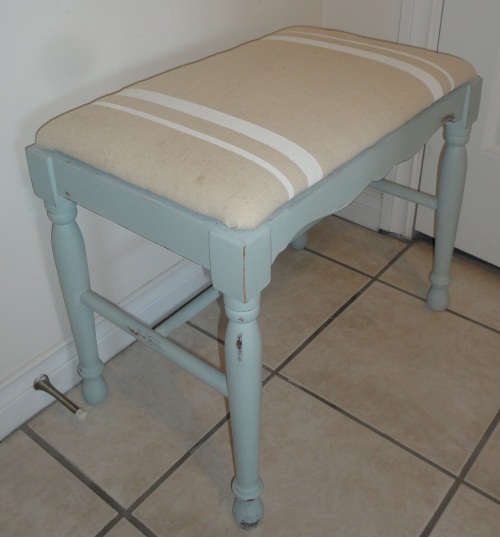
Homemade chalk paint
Clay Paint: Clay paint is a cool product. I love that its a natural paint, since it’s clay based, and has no smell. When distressing all you need is a wet rag! No dust in the air or clean up to do. I’ve used CeCe Caldwell‘s brand of paint. They have beautiful colours. Layering a couple colours can make your piece unique!
Benefits: So many! Love how its natural based and no VOCs. Its worth trying clay paint out!
Cons: It’s expensive and hard to get in my area (have to order online). There are a couple companies (like this one) that make a similar product and have more retailers.

Layered colours with clay paint.

Watery blue effect
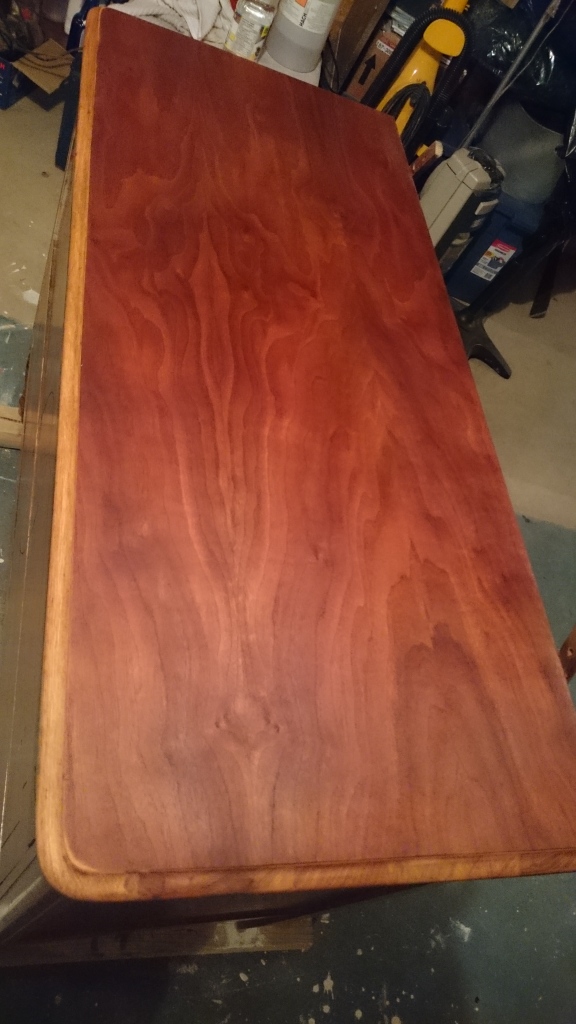
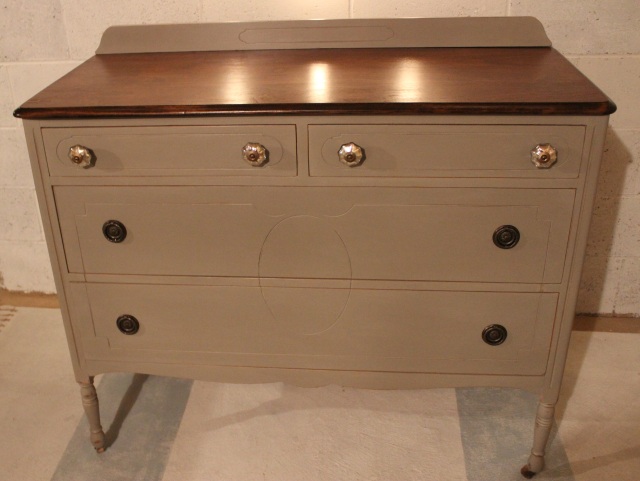
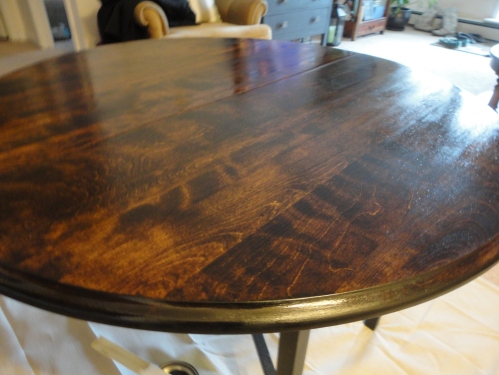
Latex Paint: I love Behr and Benjamin Moore colours. Both paints are high quality and great to paint with. I try to go for the paint and primer in one (Behr) since the coverage is much better…and one less step! Key thing when using latex paints, is to prep the piece well. Stripping and sanding til the surface is smooth is important. (If you mix latex and POP to make chalk paint, its more forgiving and bonds better with the furniture). Any style of furniture can be acheived; distress away or leave it sleek.
Benefits: So many colours available and reasonably priced for a quart of paint (probably can get 2 cans versus 1 of ASCP).
Cons: More work goes into prepping. (Have I mentioned I dislike prepping?!) 😉

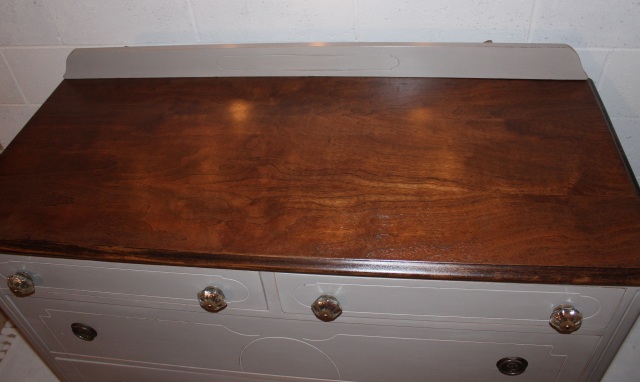
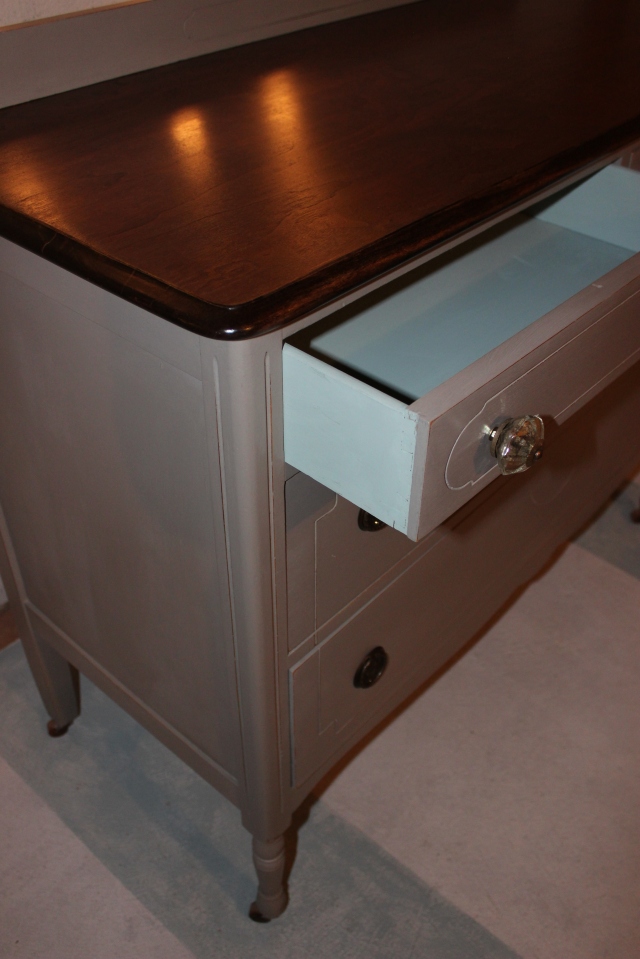
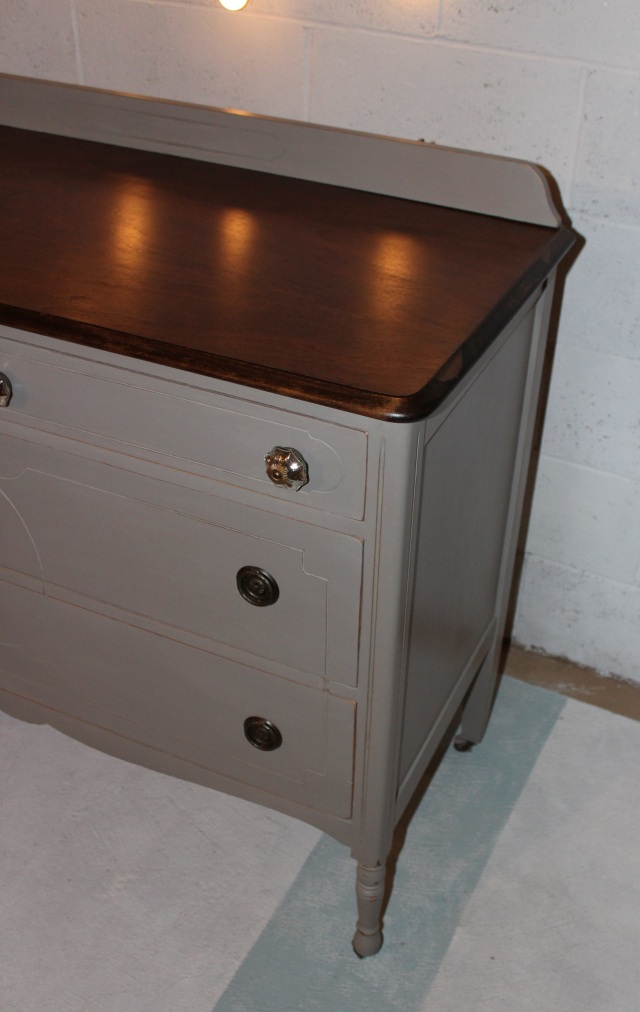
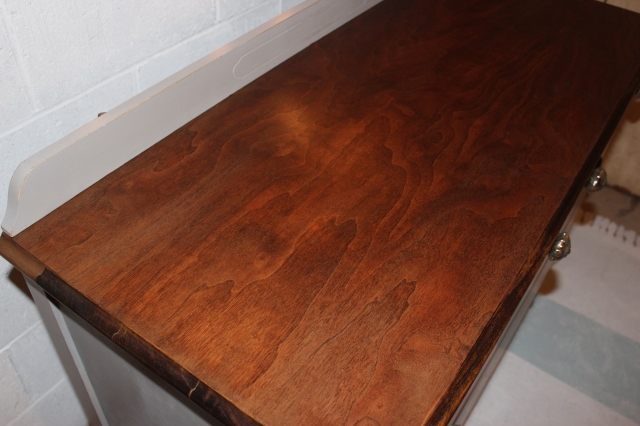
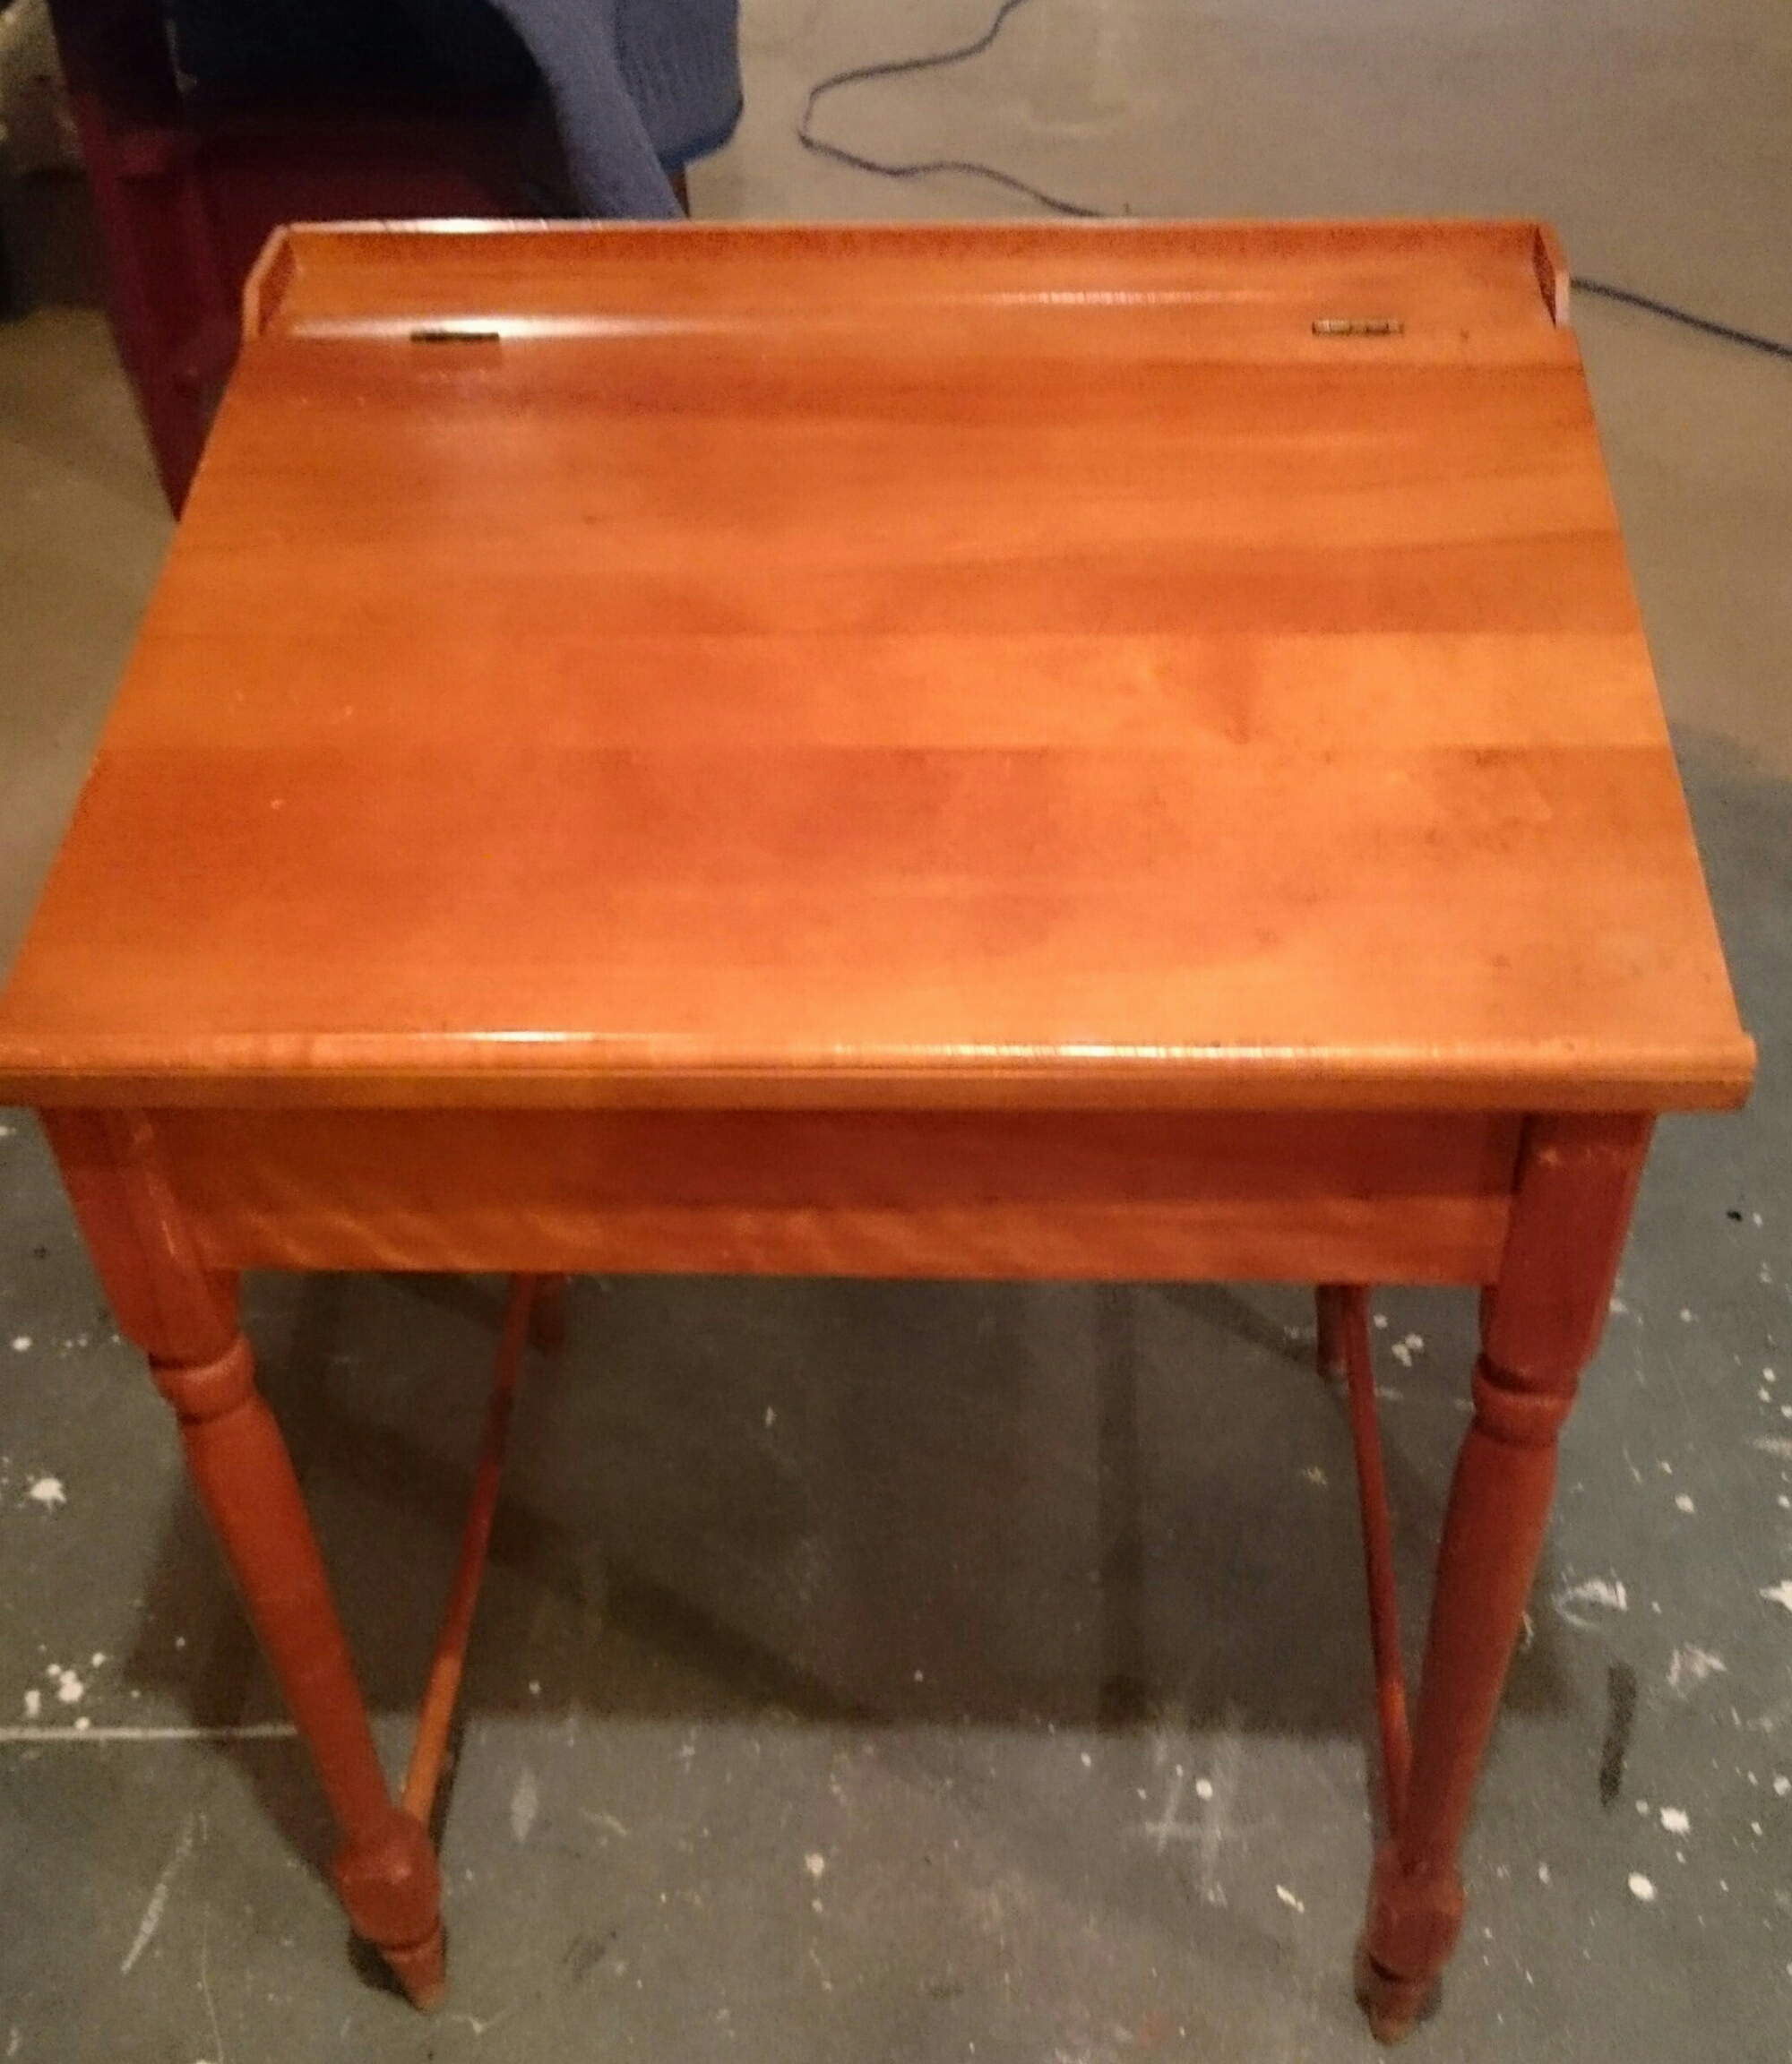
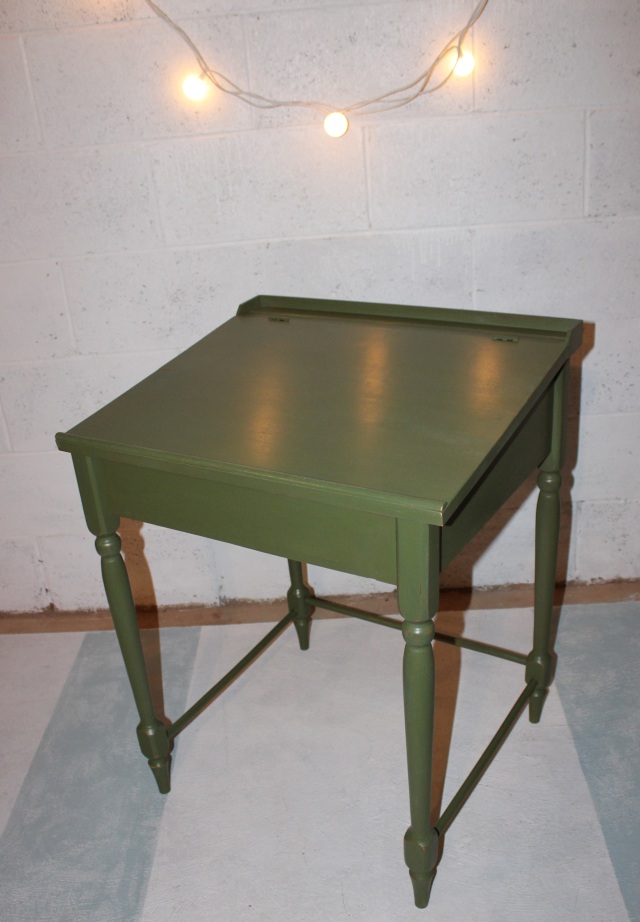
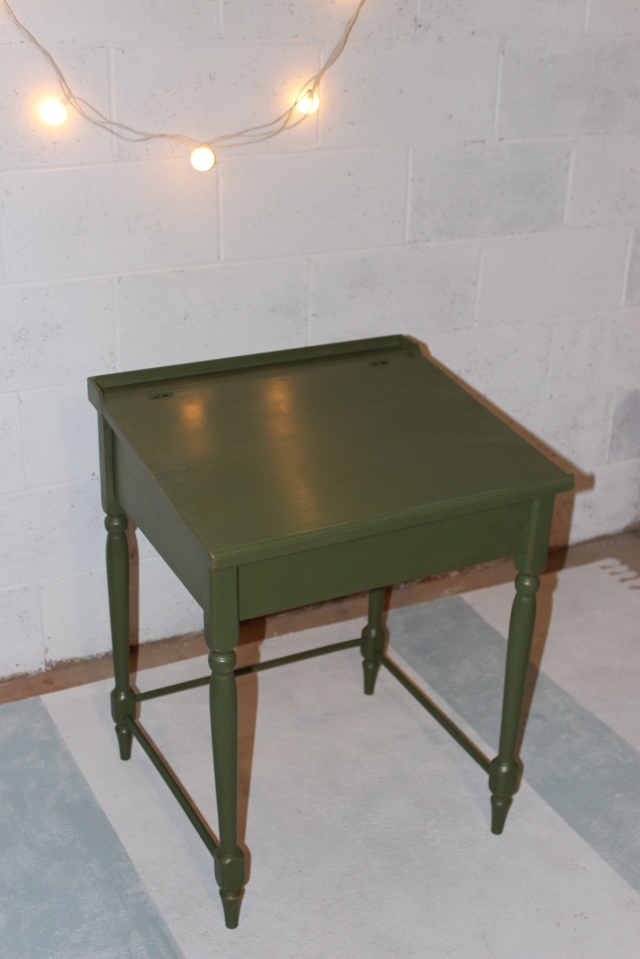
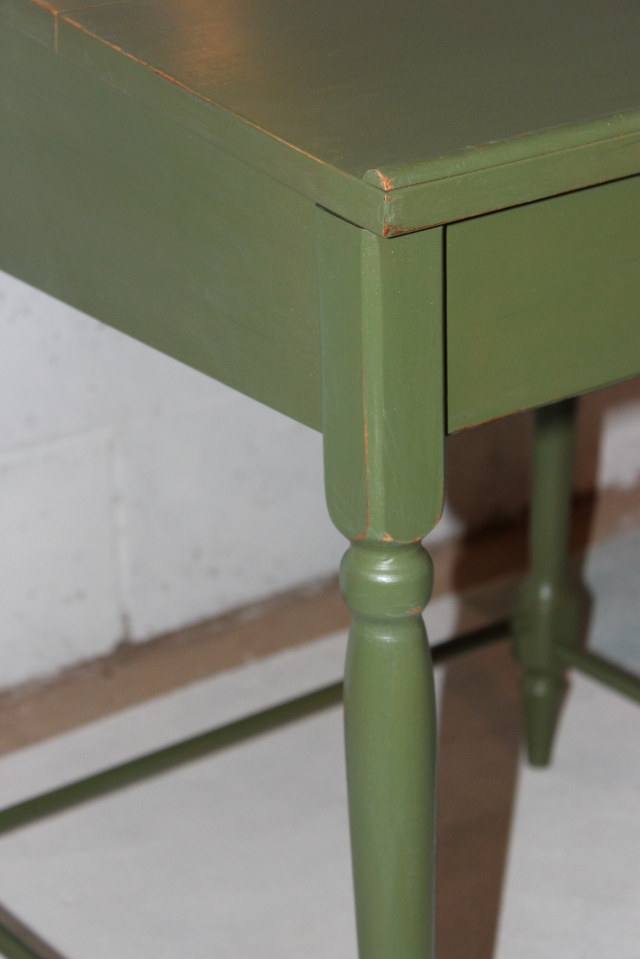
Using latex paint to create unique pieces.
Currently, my go to paints are General Finishes Milk Paint and homemade chalk paint. I’m hoping to stock up on more milk paint and ASCP.
That’s it for paint products…for now! Next I will talk about stains, waxes and other finishes.
Thanks for stopping by! Until next time!
Laurena