Duck egg blue, dresser redo

This is the second dresser that I received from my  friend’s parents.   I did the other one in snow white milk paint (see post here).

dressers before 2.JPG

I wanted to refinish this one a little differently. For the white dresser, I had used Polyshades on the top.  The second dresser, I was able to sand the top and restain it.  I chose to use a mix of Jacobean and Provincial from Minwax.

image

It took on a dark reddish colour.  At first I was nervous what it would look like with the base colour.  I was using Duck Egg Blue, ASCP, which is a nice grey blue.  I wasn’t sure how it would look with the reddish tone dresser top.  But once I started painting, my doubts fell away.  It looked beautiful.

2016-04-19 13.25.05.jpg

I had taken the old wood knobs off and drilled new holes for some new glass knobs.  Two coats of chalk paint, slight distressing and a couple coats of satin Varathane on the whole piece.   With the Duck Egg Blue, the clear knobs, the dresser is refreshed!

IMG_0819IMG_0821IMG_0820IMG_0827IMG_0831IMG_0833

And the dresser is happy in its new home!

I’ve finished a few other projects and will post those soon.  So what project shall I start next?  I do have a few chairs to reupholster and paint.  I’m itching to get some of them finished!

Laurena

Paris Grey dresser

Another dresser redo!  I love refinishing dressers.  Simple changes to a good quality dresser, like paint or new hardware, can add years to its use. This dresser had great character, but needed a fresh coat of paint and new knobs.

As usual I changed my mind on what to do with the dresser. I had planned on painting it in Paloma ASCP, but went with Paris Grey instead. I also changed my mind on the knobs. I had painted over the old pulls, bit didn’t like how they turned out. So luckily I had a few crystal knobs…they looked perfect!

Here’s the before…
image

And the after!

image
image

image

image

 I love how the crystal knobs updated the dresser and give it a classic, sweet look.  Now to get to work on the last dresser in stock!!  And work on lots of small projects.

Busy life of a furniture re-finisher!

Til next time!

Laurena


Sharing @

Before and After Post Button


Snow White in Spring

During the 2 months on strike, as you may have noticed, I wasn’t able to blog much.  Thank goodness the strike is over!!   I’m loving the fact I can now work on furniture and not feel exhausted and stressed.  It’s great!  I have quite a few furniture finds and finished pieces to share.  Ill try to get some of them posted over the next week.

In June, I was able to finish one of the matching dressers to the navy night stand I did a few months ago.  The dresser was in great condition, I just had to replace a couple of the drawer slides.  I cleaned and lightly sanded the whole dresser.  I originally had planned on sanding down the top and re-staining it in dark walnut.  But I remembered I had some Polyshades in a dark stain, so I made things easier and used that.  Polyshades is easy to use, just apply and sand between coats.  But there is a key practice when using Polyshades or similar “stain and finish in one” products.  Do not shake!  The finish will have bubbles in it which is hard to sand out.  Just stir it up gently and make sure everything is mixed.  I put 4 coats of Polyshades on the top.  I painted the base with General Finishes Milk Paint in Snow White.  I have used GF milk paint before, but it was the first time using Snow White.  It’s more of a “wash” and applies in very thin coats.  I needed to do several coats (4 or 5) to achieve the look I wanted.

Here’s the before:

 dresser @ Pivot~Paint~Create

Here is the after!!

white dresser @ Pivot~Paint~Create

white dresser @ Pivot~Paint~Create

white dresser @ Pivot~Paint~Create

white dresser @ Pivot~Paint~Create

I love the look of the white and slight distressing around the edges.  I also sealed the base with a satin finish and lined the drawers with striped paper.  The dresser sold and found a nice home!

Thanks for stopping in!

‘Til next time,

Laurena

Roadside rescue.

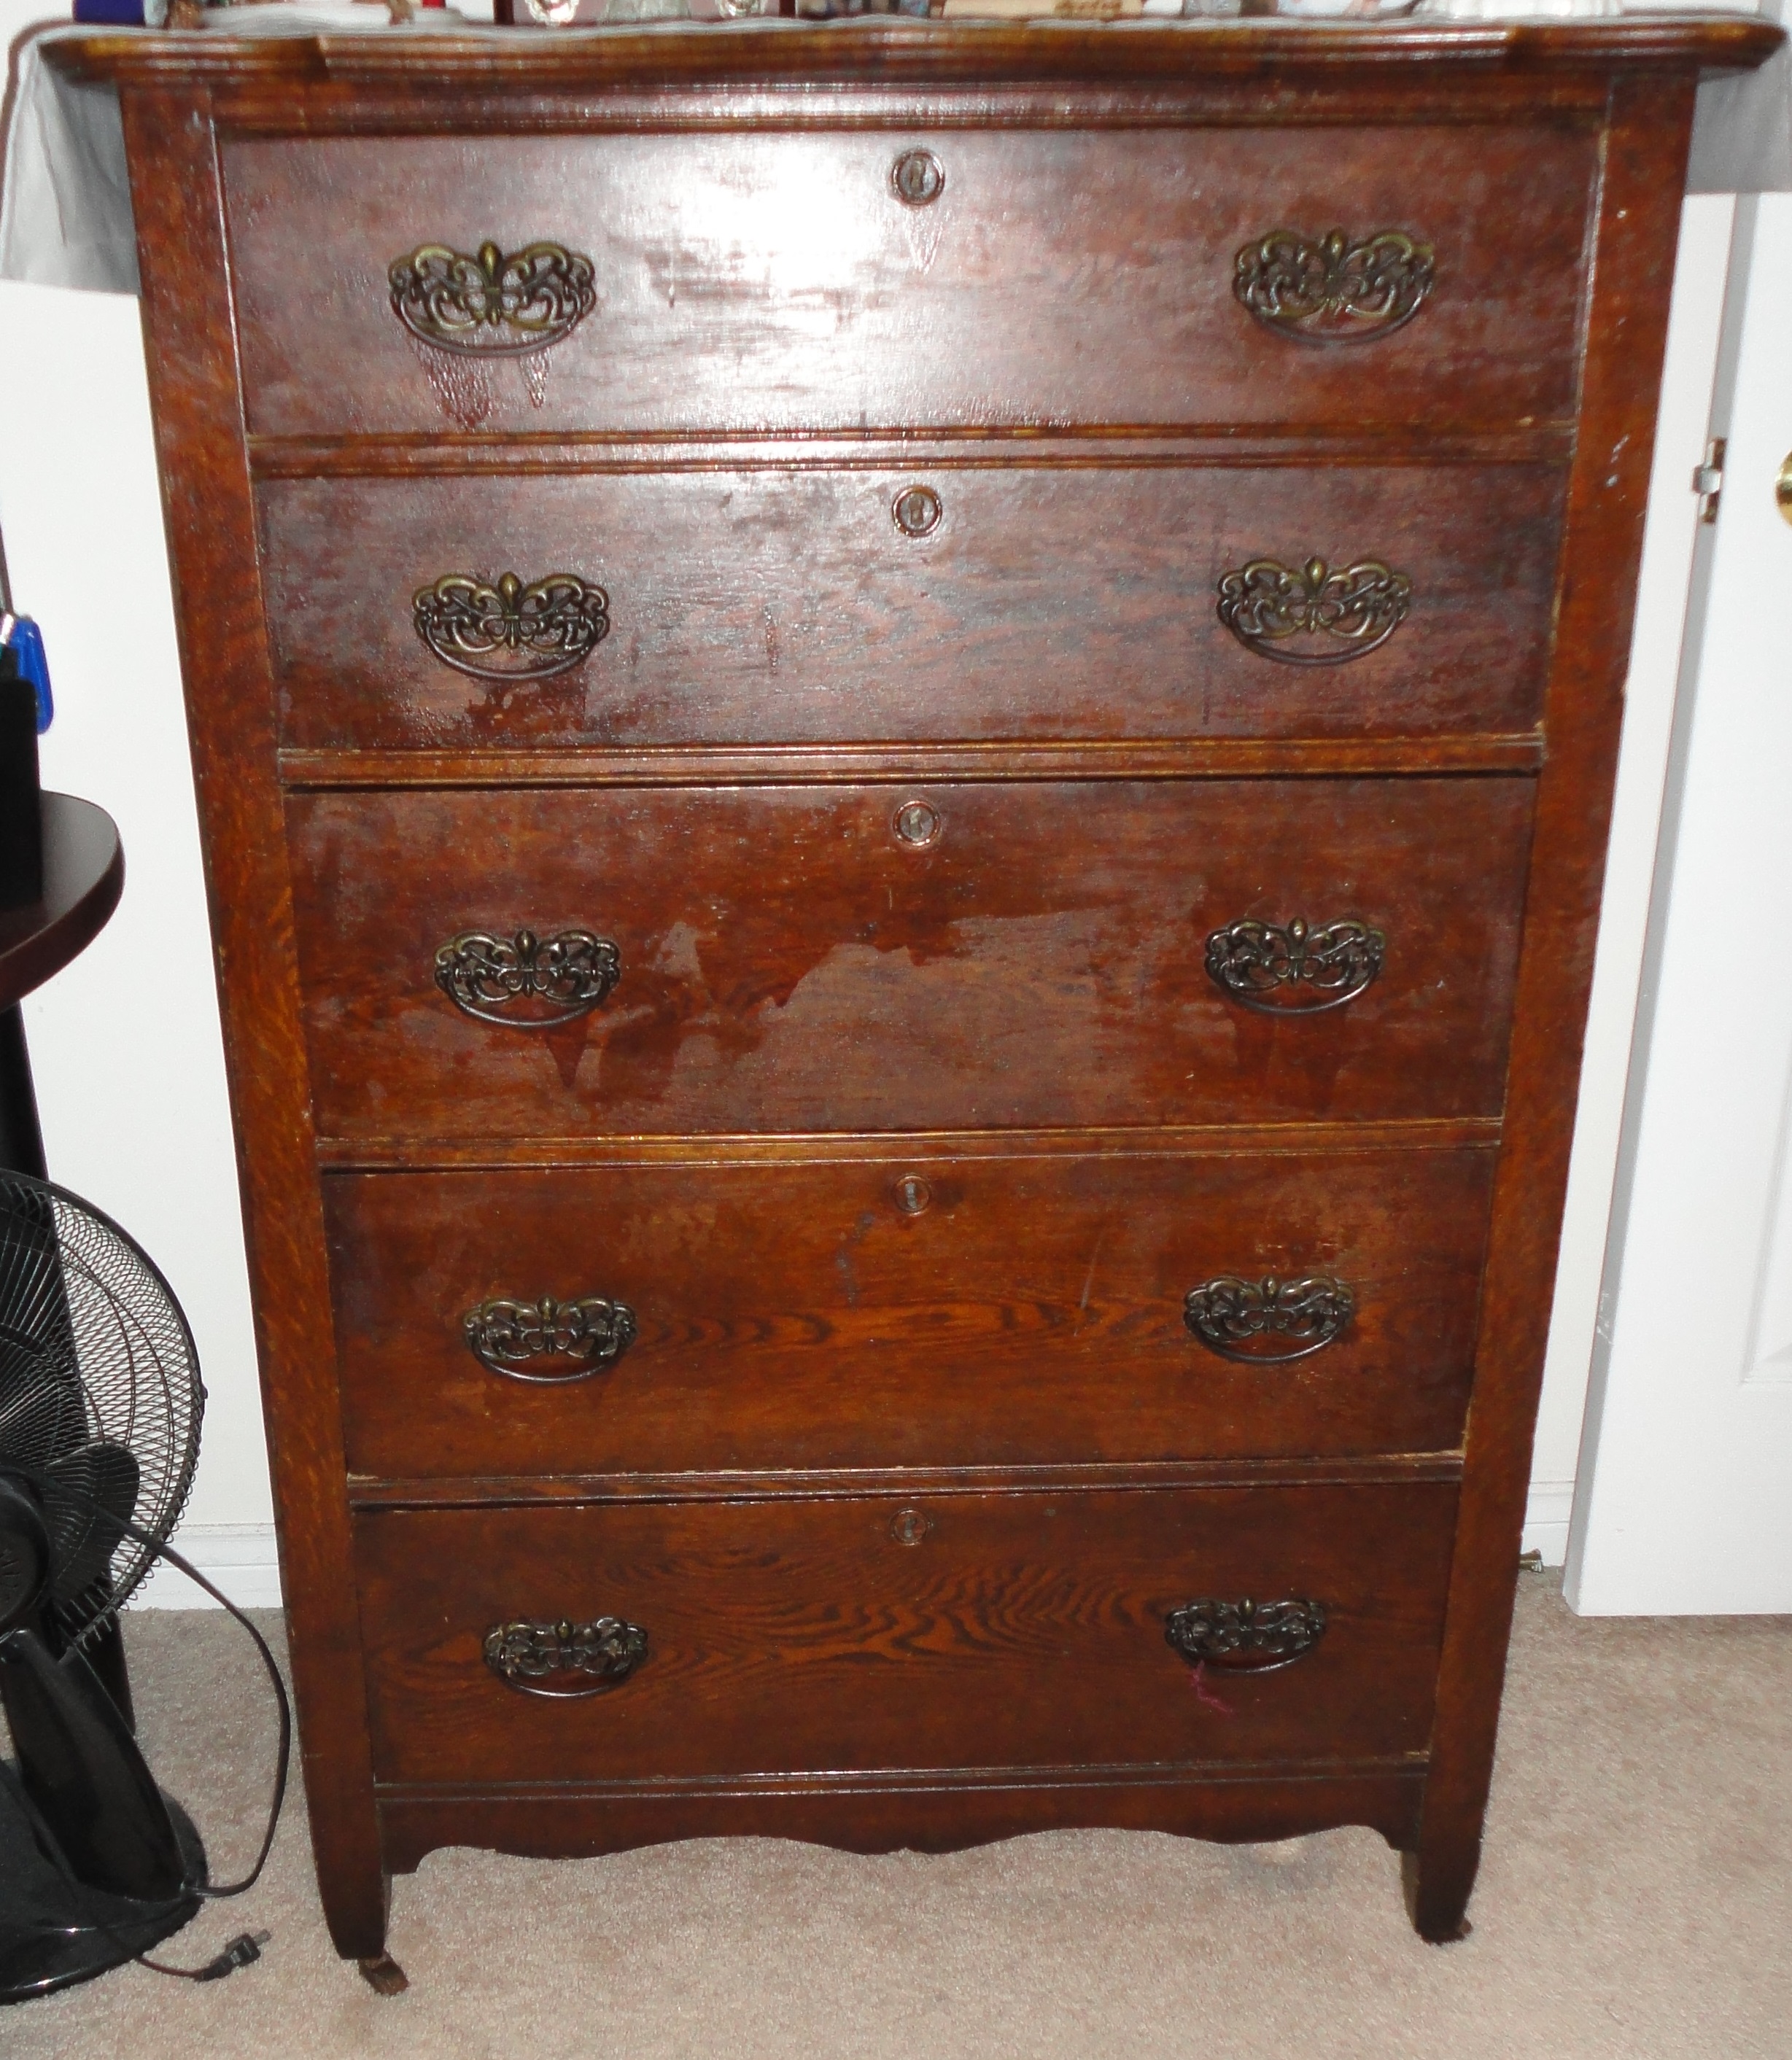
A few years ago, my friend Penny and I were driving through a small town and she spotted some roadside treasures!  Even though she was driving she could spot free furniture like nobody!   While giggling away, we stuffed the old dresser and a wooden frame in the back of her Mini Cooper.  I don’t know how we fit it all in, but I’m sure I had most of the contents of the back seat on my lap.

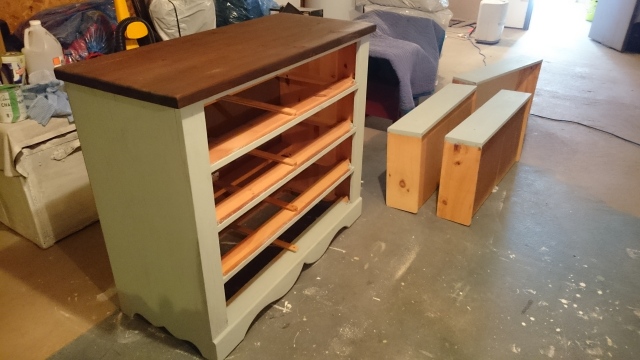
The before picture may not show much, other than peeling paint and ugly drawer liners.  But we could both see the potential.  Originally Penny was going to redo the dresser for her home, but she didn’t have room.  I inherited the little charmer.

Here’s the before, in all ‘er glory!

TV stand before @ Pivot~Paint~Create

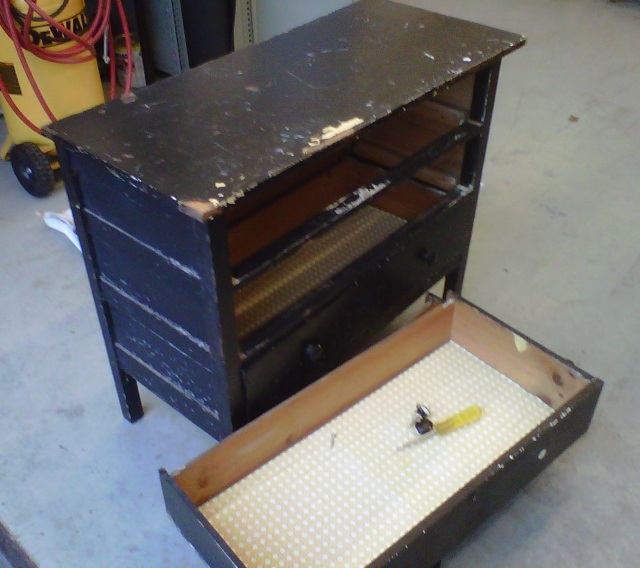
Chippy and not so pretty

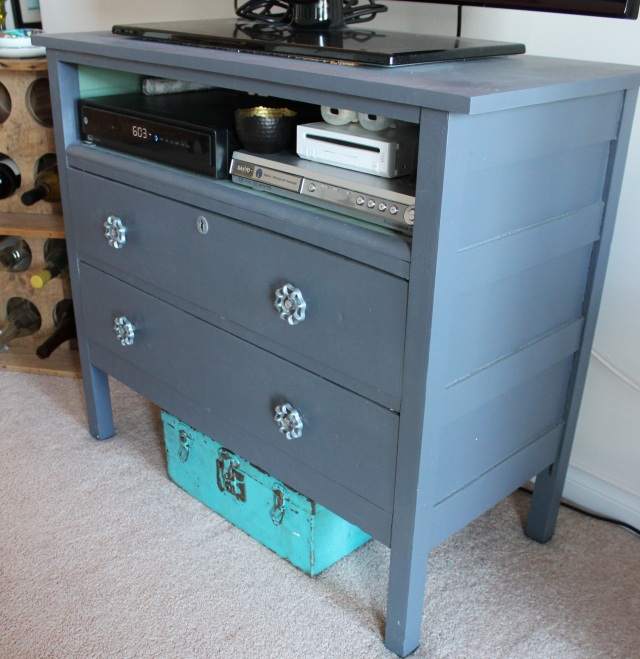
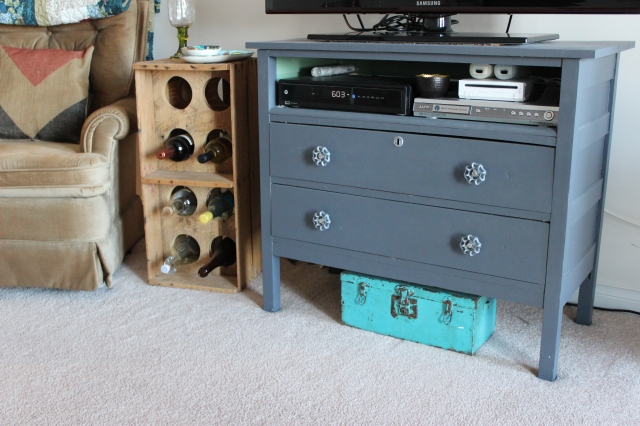
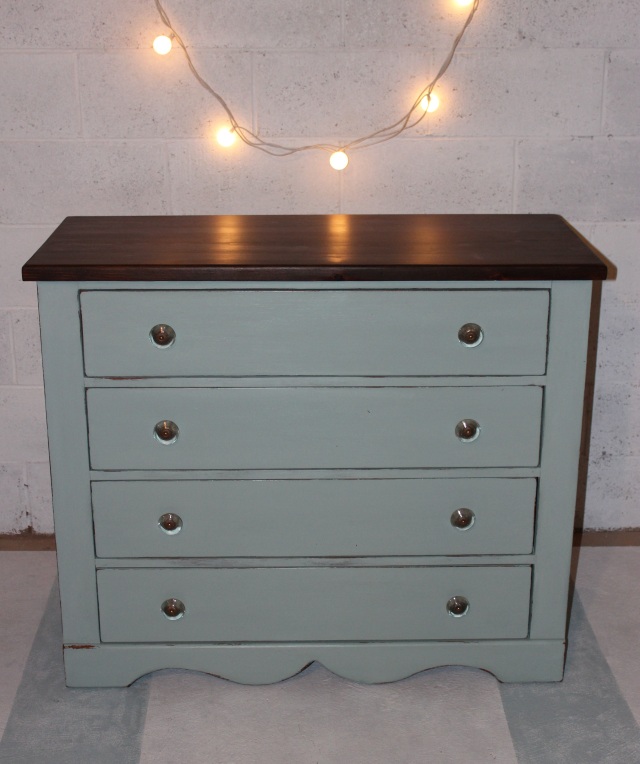
I knew right away what I wanted to do with the dresser.  Transform it into a tv stand.  I was desperate to replace the one we had at home.  We were using an old computer desk that wasn’t too pretty.  I wanted something I could hide all the tv cables, dvds and random stuff.   My plan was to replace the top drawer, make a shelf for the electrionics and keep the other drawers for storage. And make it pretty!

There were so many layers of peeling paint.  I had to do some major prepping.  First, I stripped it down using oven cleaner.  Yup, that’s right, oven cleaner!  Strippers are caustic type chemicals that eat away and break down paint.  Oven cleaner does the same for the greasy grime in your oven.  I had to do a few coats of ‘stripper’ to eat through the paint layers.  It worked ok.  Oven cleaner would be a good option if you couldn’t make it to a hardware store for the real stuff.

**Note: Always wear gloves, safety glasses and a mask when using strippers!

 And don’t wear good clothing, it can get pretty messy.**

tv stand stripped @ Pivot~Paint~Create

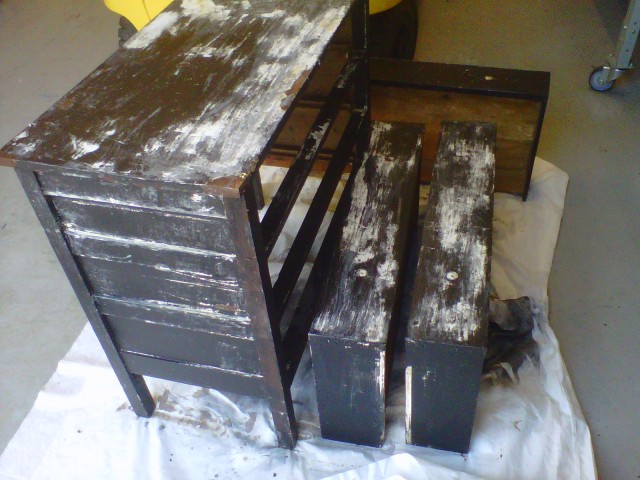
After the first round of stripping

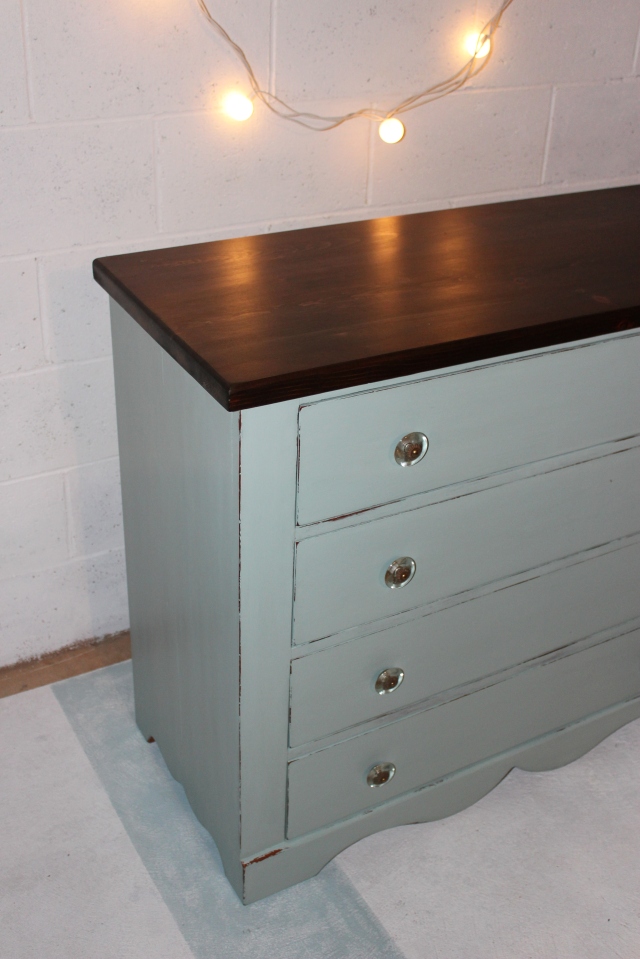
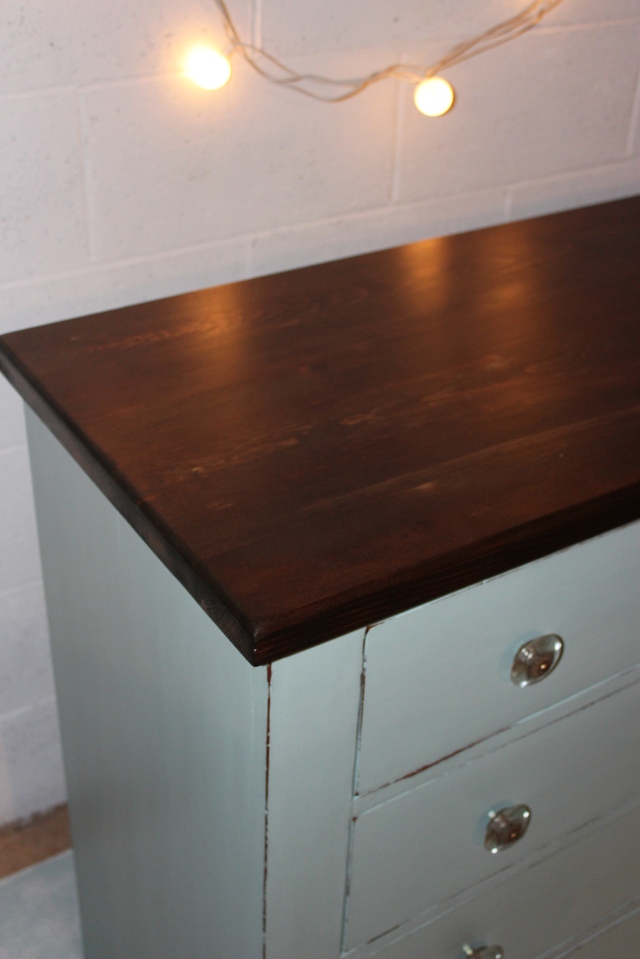
Once I stripped and sanded the dresser, I started the fun part!  I used Behr paint and primer in one.  The coverage of that paint is so awesome.  Using a foam roller and brush, I painted the inside a grassy, green colour (Behr’s Mossy Green).  For the outside, I chose a gun-metal colour (Pencil Point).  I loved the colour combo.  So fresh!

I had a hard time choosing knobs for the dresser.  Until i came upon a blog that had used old water valve handles for coat hooks.  I loved the idea.  Especially since I work in water treatment.  A little nod to my other job. 🙂
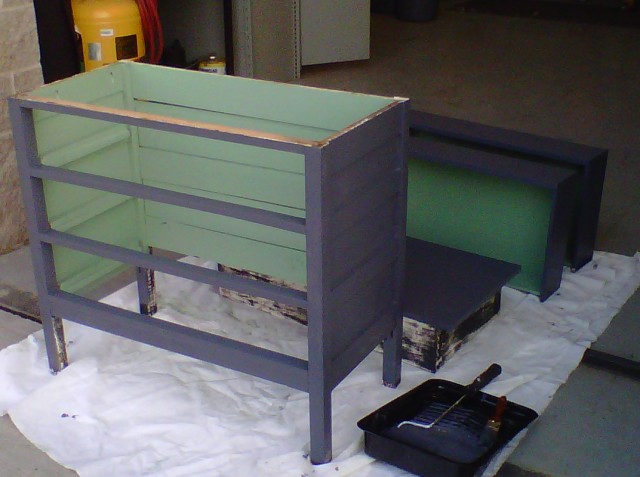
tv stand @ Pivot~Paint~Create

First coat of paint

tv stand 8 knobs

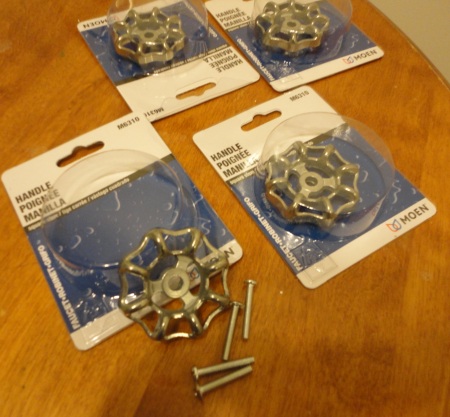
Thinking outside the box for the knobs

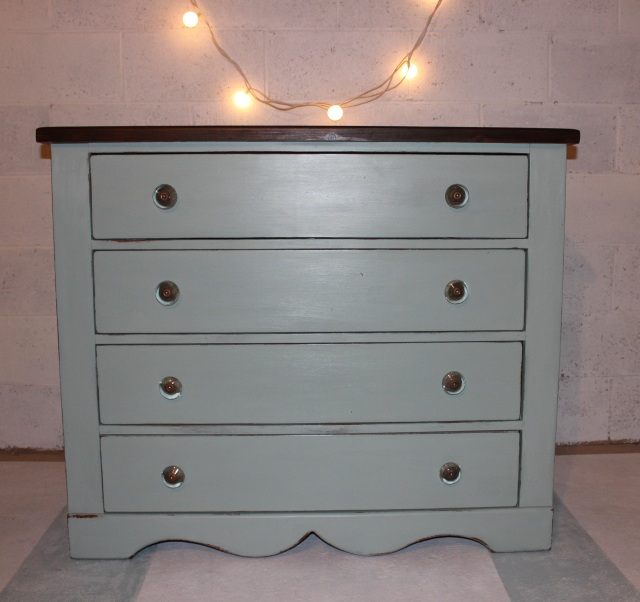
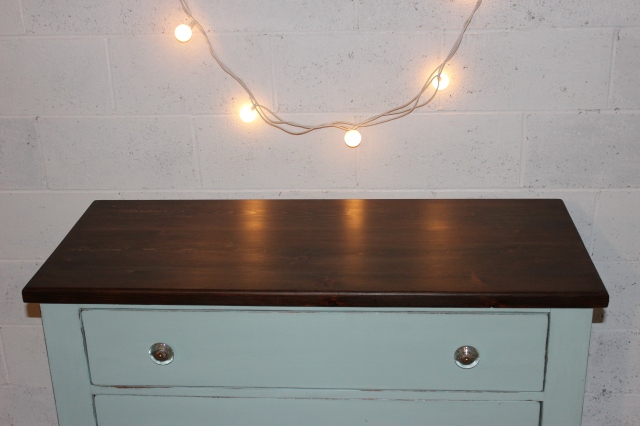
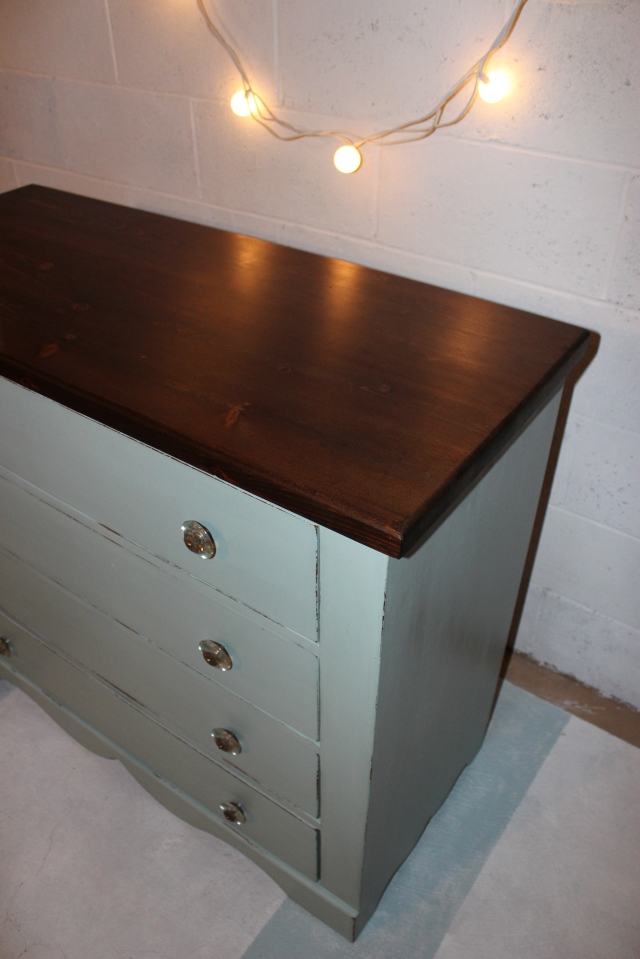
Here’s the after!  I love the end result!  Gotta love roadside finds!

Tv Stand @ Pivot~Paint~Create

tv stand @ Pivot~Paint~Create

Have you had luck with roadside rescues?

Penny and I have had a few, including a few old windows which I still have to make into chalkboards.

Gotta love free stuff!

Thanks for stopping in!  ‘Til next time!

Laurena

Sharing @

That-DIY-Party-link-party-button

Drab to fab, night stand redo.

Here’s a quick post about a nightstand I refinished last month.  I’m lucky to have a few friends who message me when they’re getting rid of furniture.  Of course I can’t refuse!  Before Christmas my friends’ parents gave me two dressers and a nightstand.  I haven’t refinished the dressers yet.  My plan is to re-stain the dresser tops and haven’t had a chance to sand the tops yet.  But I did get a chance to make over the nightstand.

When I look at a piece of furniture, I love seeing beyond the drab and boring.  The two dressers and the nightstand are great pieces, they were just missing a  little somethin.’  The nightstand was nice and sturdy and well made so I didn’t have to fix anything before painting.  I love when that happens!  I just opened a can of Coastal Blue milk paint (General FInishes) and started painting.  I kept it simple; paint, distressing and then sealed with polycrylic.  For the drawer I lined it with old book pages, sealing them with polycrylic as well.  I finished the piece with a drawer pull from Anthropologie and a fun basket for storage.  Here are the before and afters!

Before:

navy night stand before @ Pivot~Paint~Create

navy night stand before @ Pivot~Paint~Create

navy night stand before @ Pivot~Paint~Create

After:navy night stand @ Pivot~Paint~Create

navy night stand @ Pivot~Paint~Create

navy night stand @ Pivot~Paint~Create navy night stand @ Pivot~Paint~Create

I just love the navy blue don’t you?  What’s your favorite colour trend for furniture?

Thanks for stopping in!  Until next time,

Laurena

Sharing @: Miss Mustard Seed

A tale of two paints

I recently worked on two commodes with totally different styles.  One, antique with fun wood carvings as accents. And the other, simple and basic style.  I knew I wanted to do two different looks.  The only thing I kept the same was that I refinished the tops in special walnut stain.

I’m not sure how I determine what colour each piece of furniture will be. I guess they kinda speak to me. Not to sound too hippy drippy, but its true!  The antique one was telling me, “Paint me seagreen!” And the other, “Paint me red!”  I was going to use two different colours… and two different types of milk paint.

I used seagreen from Old Fashioned milk paint.  I mixed it with water and painted away.  It got pretty chippy.  Real chippy, which scares me. But I let it be. After painting and a little distressing, I sealed with hemp oil.  The oil deepened the colour and brought out the detail.  Here’s the before and after…

wooden commode before @ Pivot~Paint~Create

Sea green commode @ Pivot~Paint~Create

The other commode I painted in General Finishes Tuscan Red. Its acrylic based and premixed.  So it was super easy.  Open can and paint.  No priming or sanding.  And the paint covers so awesomely!!  I think the colours and types of milk paint suited the pieces.  Here are the before/after pictures…

small hutch before @ Pivot~Paint~Create

Tuscan red hutch @ Pivot~Paint~Create

Which type of milk paint do I like more?  Actually…I can’t pick a favorite.  I guess it depends on the piece of furniture.  And of course…the furniture lets me know what they want to be painted. 😉

Until next time!

Laurena

Sharing @: Miss Mustard Seed

Getting out of a rut: antique dresser redo.

The past year I realized I was stuck in a rut.  I was spending my spare time refinishing furniture for other people and ignoring my own.   I wanted to surround myself with pieces I was proud of and weren’t just filling space.   I needed a new dresser! I hunted for one with good bones and character.  I found this charmer on kijiji.  The dresser was perfect.  It was fairly old and needed some TLC, but I loved it anyway!  I loved the simple lines, the key holes, castor feet AND it came with a mirror!  The pictures don’t portray how bad the finish was: sticky, stained, scratched and just plain icky.
oak dresser @ Pivot~Paint~Create

oak dresser @ Pivot~Paint~Create

oak dresser@ Pivot~Paint~Create

oak dresser @ Pivot~Paint~Create

oak dresser @ Pivot~Paint~Create

 I stripped and sanded the whole dresser before painting.  It took a few coats to eat through the old finish.  I chose a stripper that was environmentally friendly, but it was still smelly.  Key part to stripping, do it outside!  Wait a second…er, you know what I mean! 😉

oak dresser@ Pivot~Paint~Create

On the base and mirror I used milk paint. I mixed Slate and Buttermilk (Old Fashioned Milk Paint) to make a light grey.  I didn’t add a bonding agent since I figured the bare wood would soak up the paint.   I didn’t want too much chippy-ness, so I was hoping for the best!

oak dresser@ Pivot~Paint~Create

oak dresser @ Pivot~Paint~Create

 I stained the top and drawer fronts dark walnut, sealing with Hemp Oil (Miss Mustard Seed).  First time using hemp oil and I loved it!  It has a slight grassy smell and doesn’t give me a headache.  Perfect for refinishing furniture indoors.

I kept the original hardware after giving them a good cleaning and  spray painting with oil-rubbed bronze.  I wish I saw this tip before I spray painted mine!

oak dresser @ Pivot~Paint~Create

I absolutely love the way it turned out.  The colour is a nice light grey-blue.  The paint adhered well to the raw wood and cracked nicely.  I was tempted to get a new mirror cut, but after living with the dresser for awhile, I love the imperfect, antique character.

 oak dresser @ Pivot~Paint~Create

oak dresser @ Pivot~Paint~Create

oak dresser@ Pivot~Paint~Create

oak dresser@ Pivot~Paint~Create

Thanks for stopping in!  Until next time!

Laurena